As many of you know, for the last 18 months I have been teaching a course I have developed for women called The Heroine’s Journey. In this 7 part course we reflect on our lives through the lens of the stages of the Hero’s Journey (as identified by Joseph Campbell), using myths and fairy tales, writing, ritual, drama and art journaling. So far I have run the course 3 times, with another starting on 9th August. I have also already run a Part 2 Heroine’s Journey course, as many of the participants wanted to continue on with the process.
I thought it would be interesting to do a series of posts on some of the Heroine’s Journey participants and feature some of their work….so without further ado, may I present Heroine’s Journey art journaler Christina 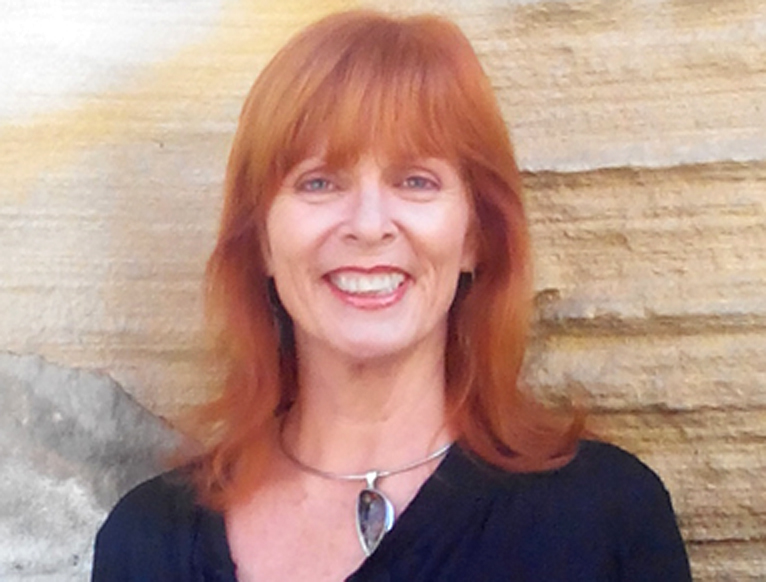 . Christina had not done much art journaling before doing the heroine’s course, but she has a natural eye for colour, harmony and beauty.
I interviewed Christina about her experience of the heroine’s journey, and art journaling.
Alison: What have you liked most about doing the Heroine’s Journey?
Christina: I don’t think I’ve ever given myself the luxury of time to do some creative work, like art work. I like all the new techniques I’ve been learning and I’ve been really surprised by how beautiful some of my pages are, so that’s been…startling and amazing really! And I really love some of my pages and feel happy to show them to people whereas in the past I would have found it very challenging to show my art to anyone.
I’ve also loved the camaraderie of the women in the group and I’ve had a feeling of safety within the group, where we’ve really exposed ourselves, both with our art work and with our feelings. There have been some very poignant moments and a few tears, both mine and other people’s. Holding that space for others…it’s been very beautiful.
A: Tell me about some of your pages…..this Warrior page for example?
C: Well it was interesting how I ended up having this 15 year old warrior, standing next to my grown up warrior. I really saw what a warrior my teenager self was, way back then, she had to be. And also seeing her innocence. And then my mature inner warrior, how capable she is, how resilient. I enjoyed using the animal totems on this page too, animals that I felt an affinity with. They are my companions. The wolf is there behind me, he’s got my back, and the eagle flies over and is a scout, they’re both my scouts and my muses in some way too.
A: And the ancestors page? 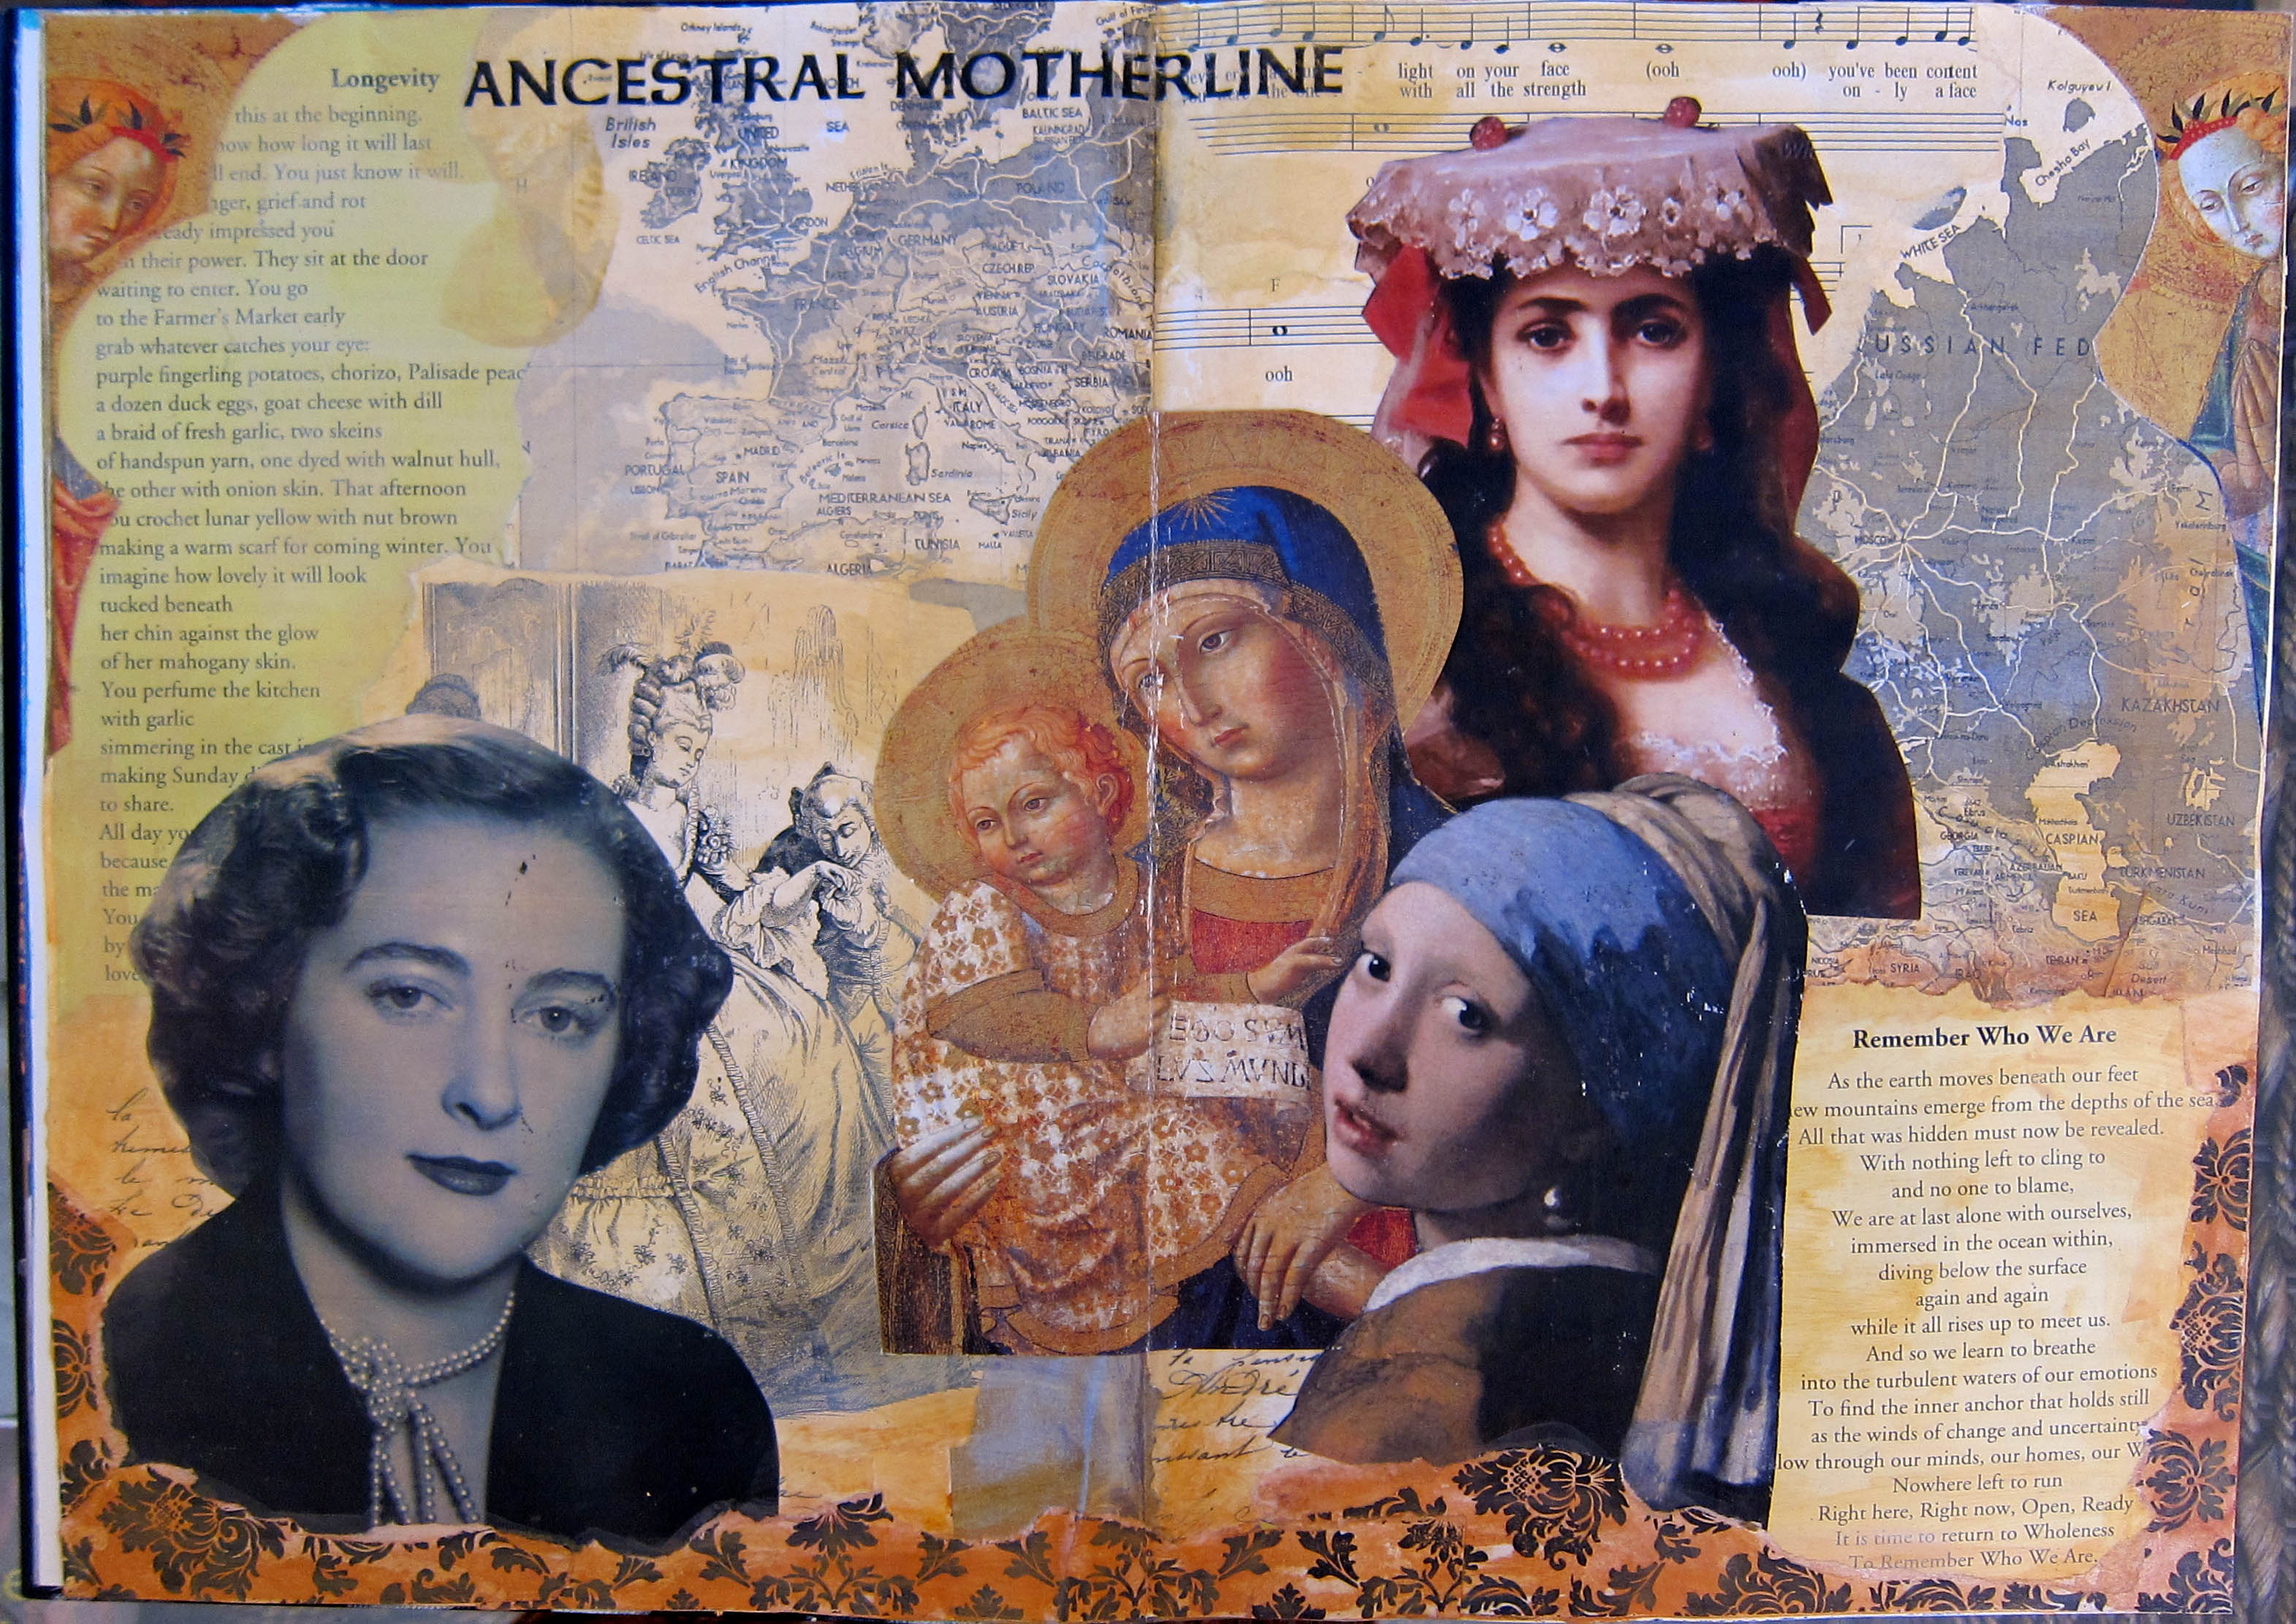
C: Well I was really close to my Mum, and she died a long time ago and I really miss her, so I loved to put her photo here, when she was in her prime. And the Girl with the Pearl earring I included because my Grandmother was Dutch…and I loved the book, and the painting. She represents my European heritage. And I also used some maps of Europe in the background too. And then I included the perennial mother, mother Mary. That felt really significant to me too, to include the nurturing, overarching mother. And I’ve included the french thing in there, I’ve always loved everything French, I love the language, I used to own a french perfumerie.
A: I like the muted colours you’ve used in the background, it almost looks like you’ve stained it with tea or coffee or something.
C: Yes I wanted an aged look. I had some other ancestor photos I could have used but they were more 1960’s photos and didn’t go so well with this old “Ancient Mother” look.
The above 2 pages were made by Christina during Part one of the Heroine’s Journey which she completed last year. She has also completed Part 2, and the next pages are from that course.
Christina has travelled quite a lot, and has spent some years living in Canada, which she loves. She told me she really enjoyed making this Special Places page, sifting through her travel phtographs and remembering special places.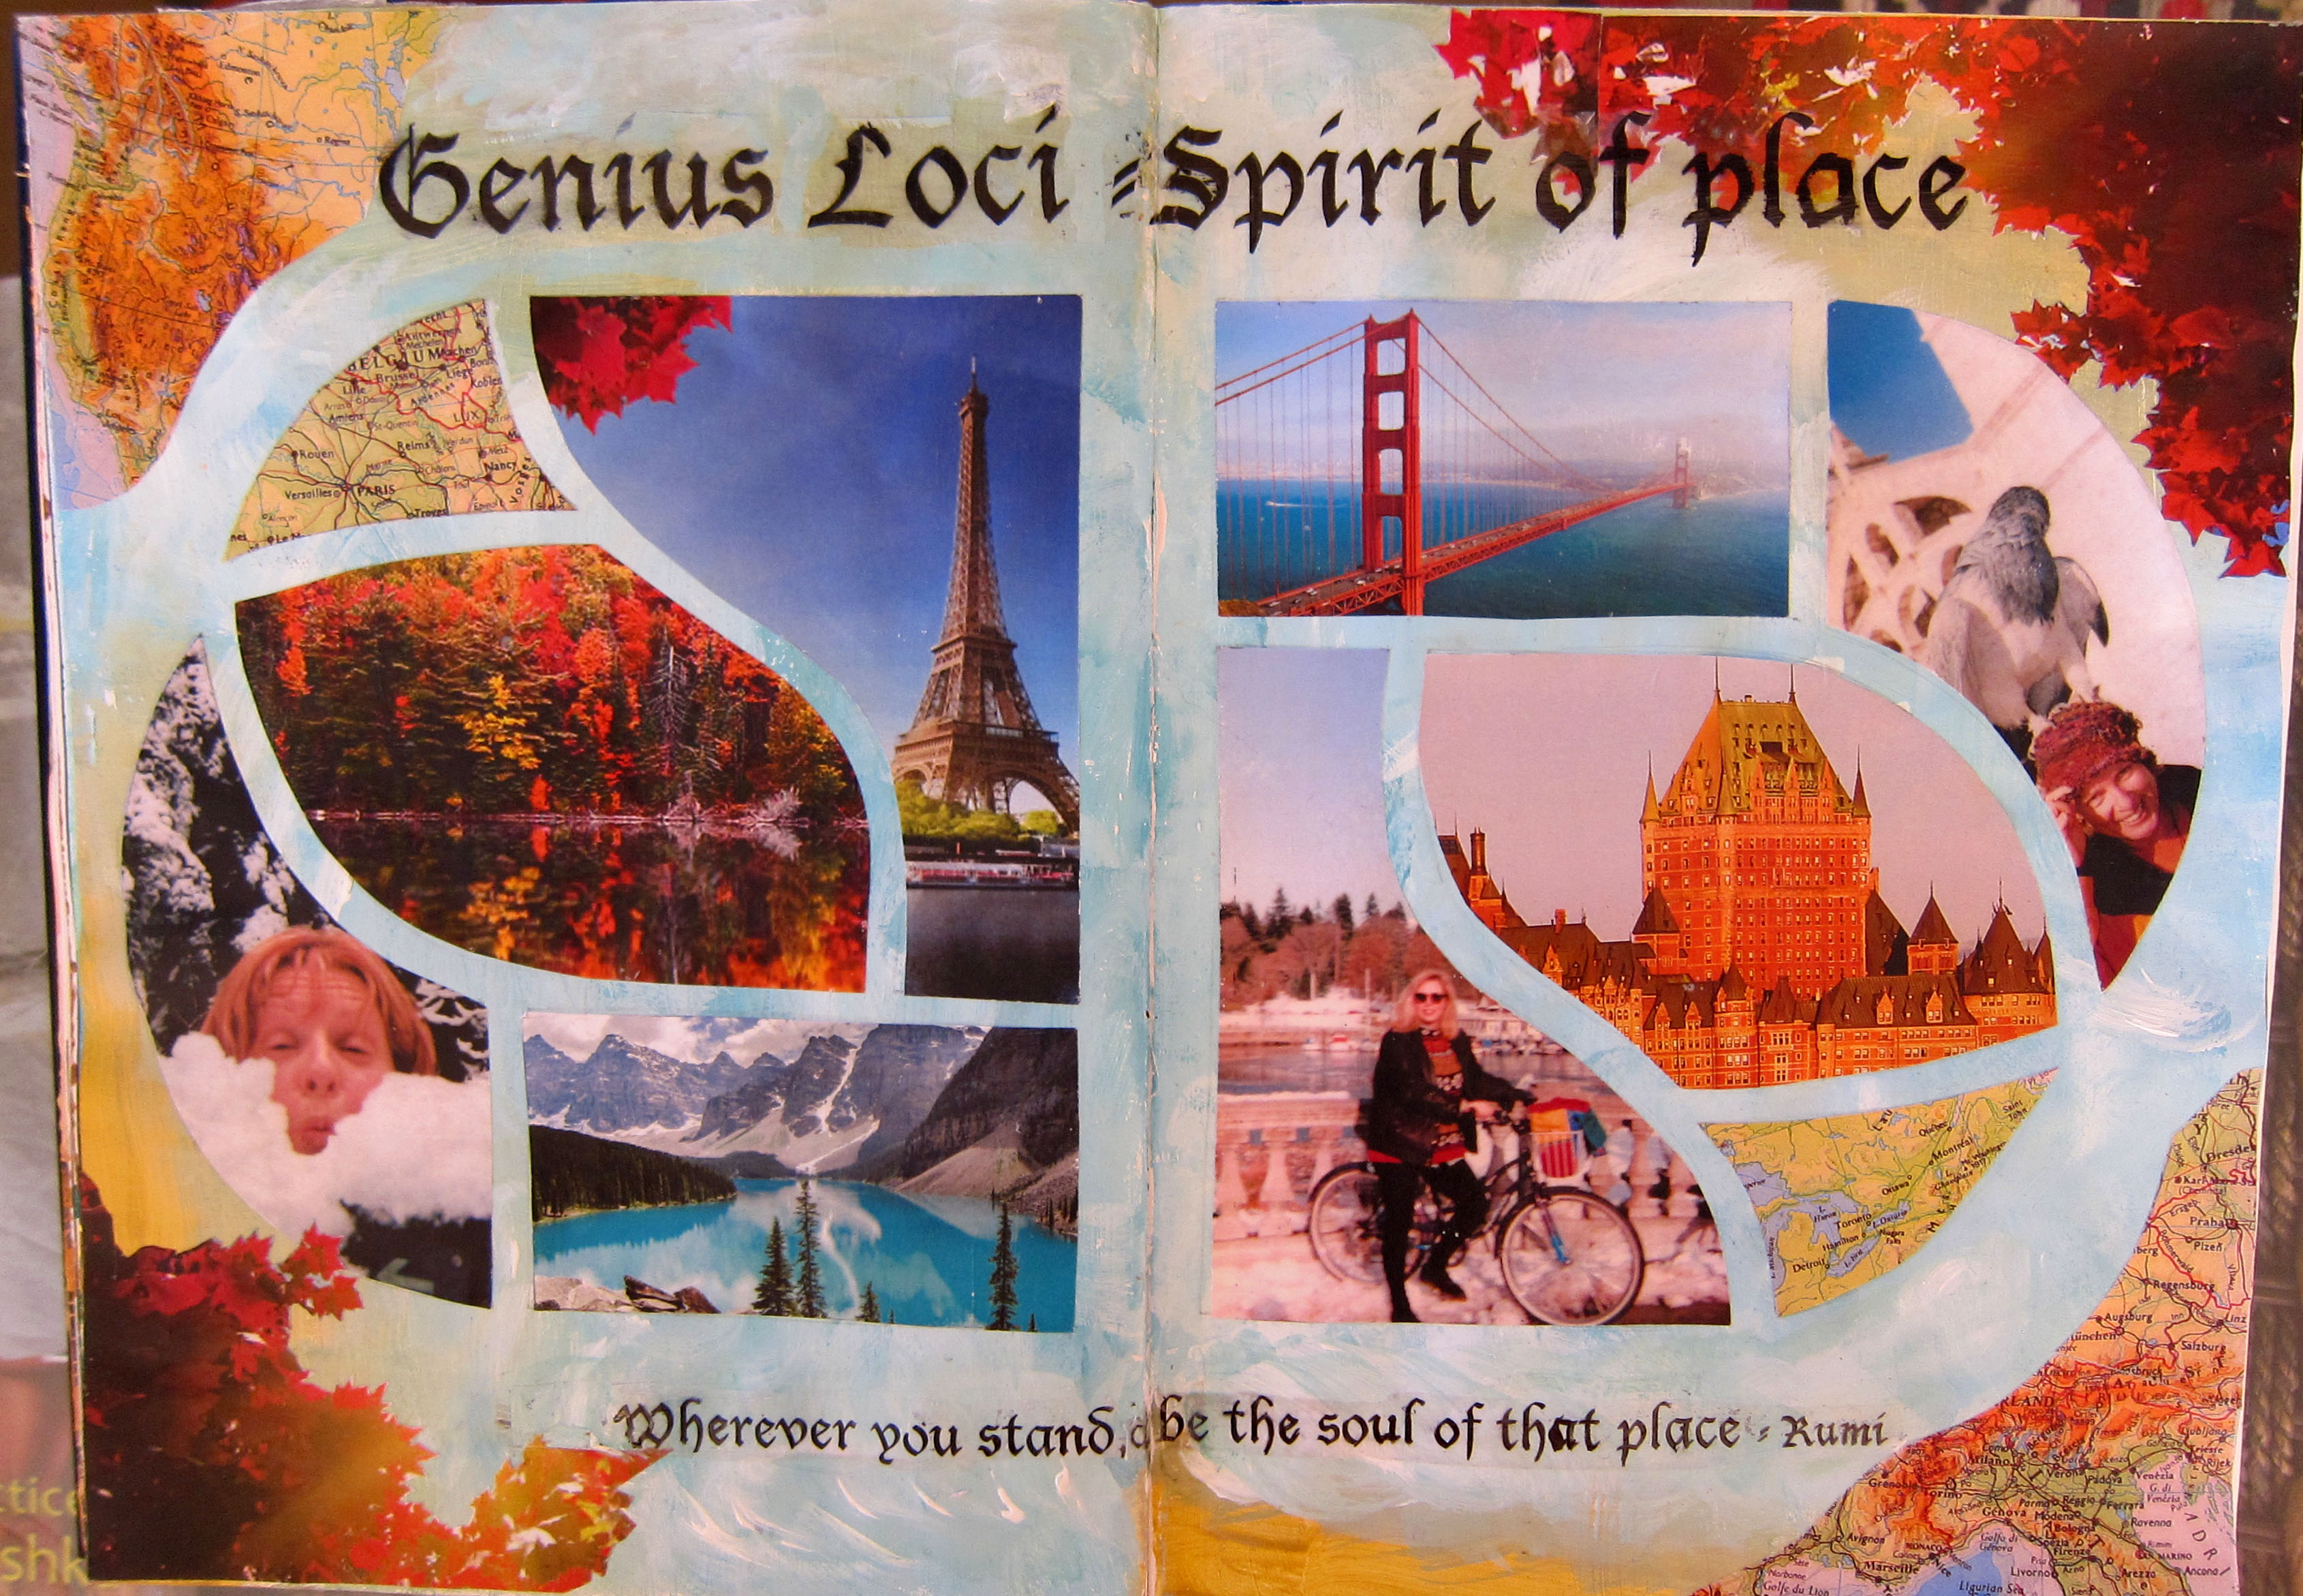
Joseph Campbell said “The cave you fear to enter holds the treasure you seek”
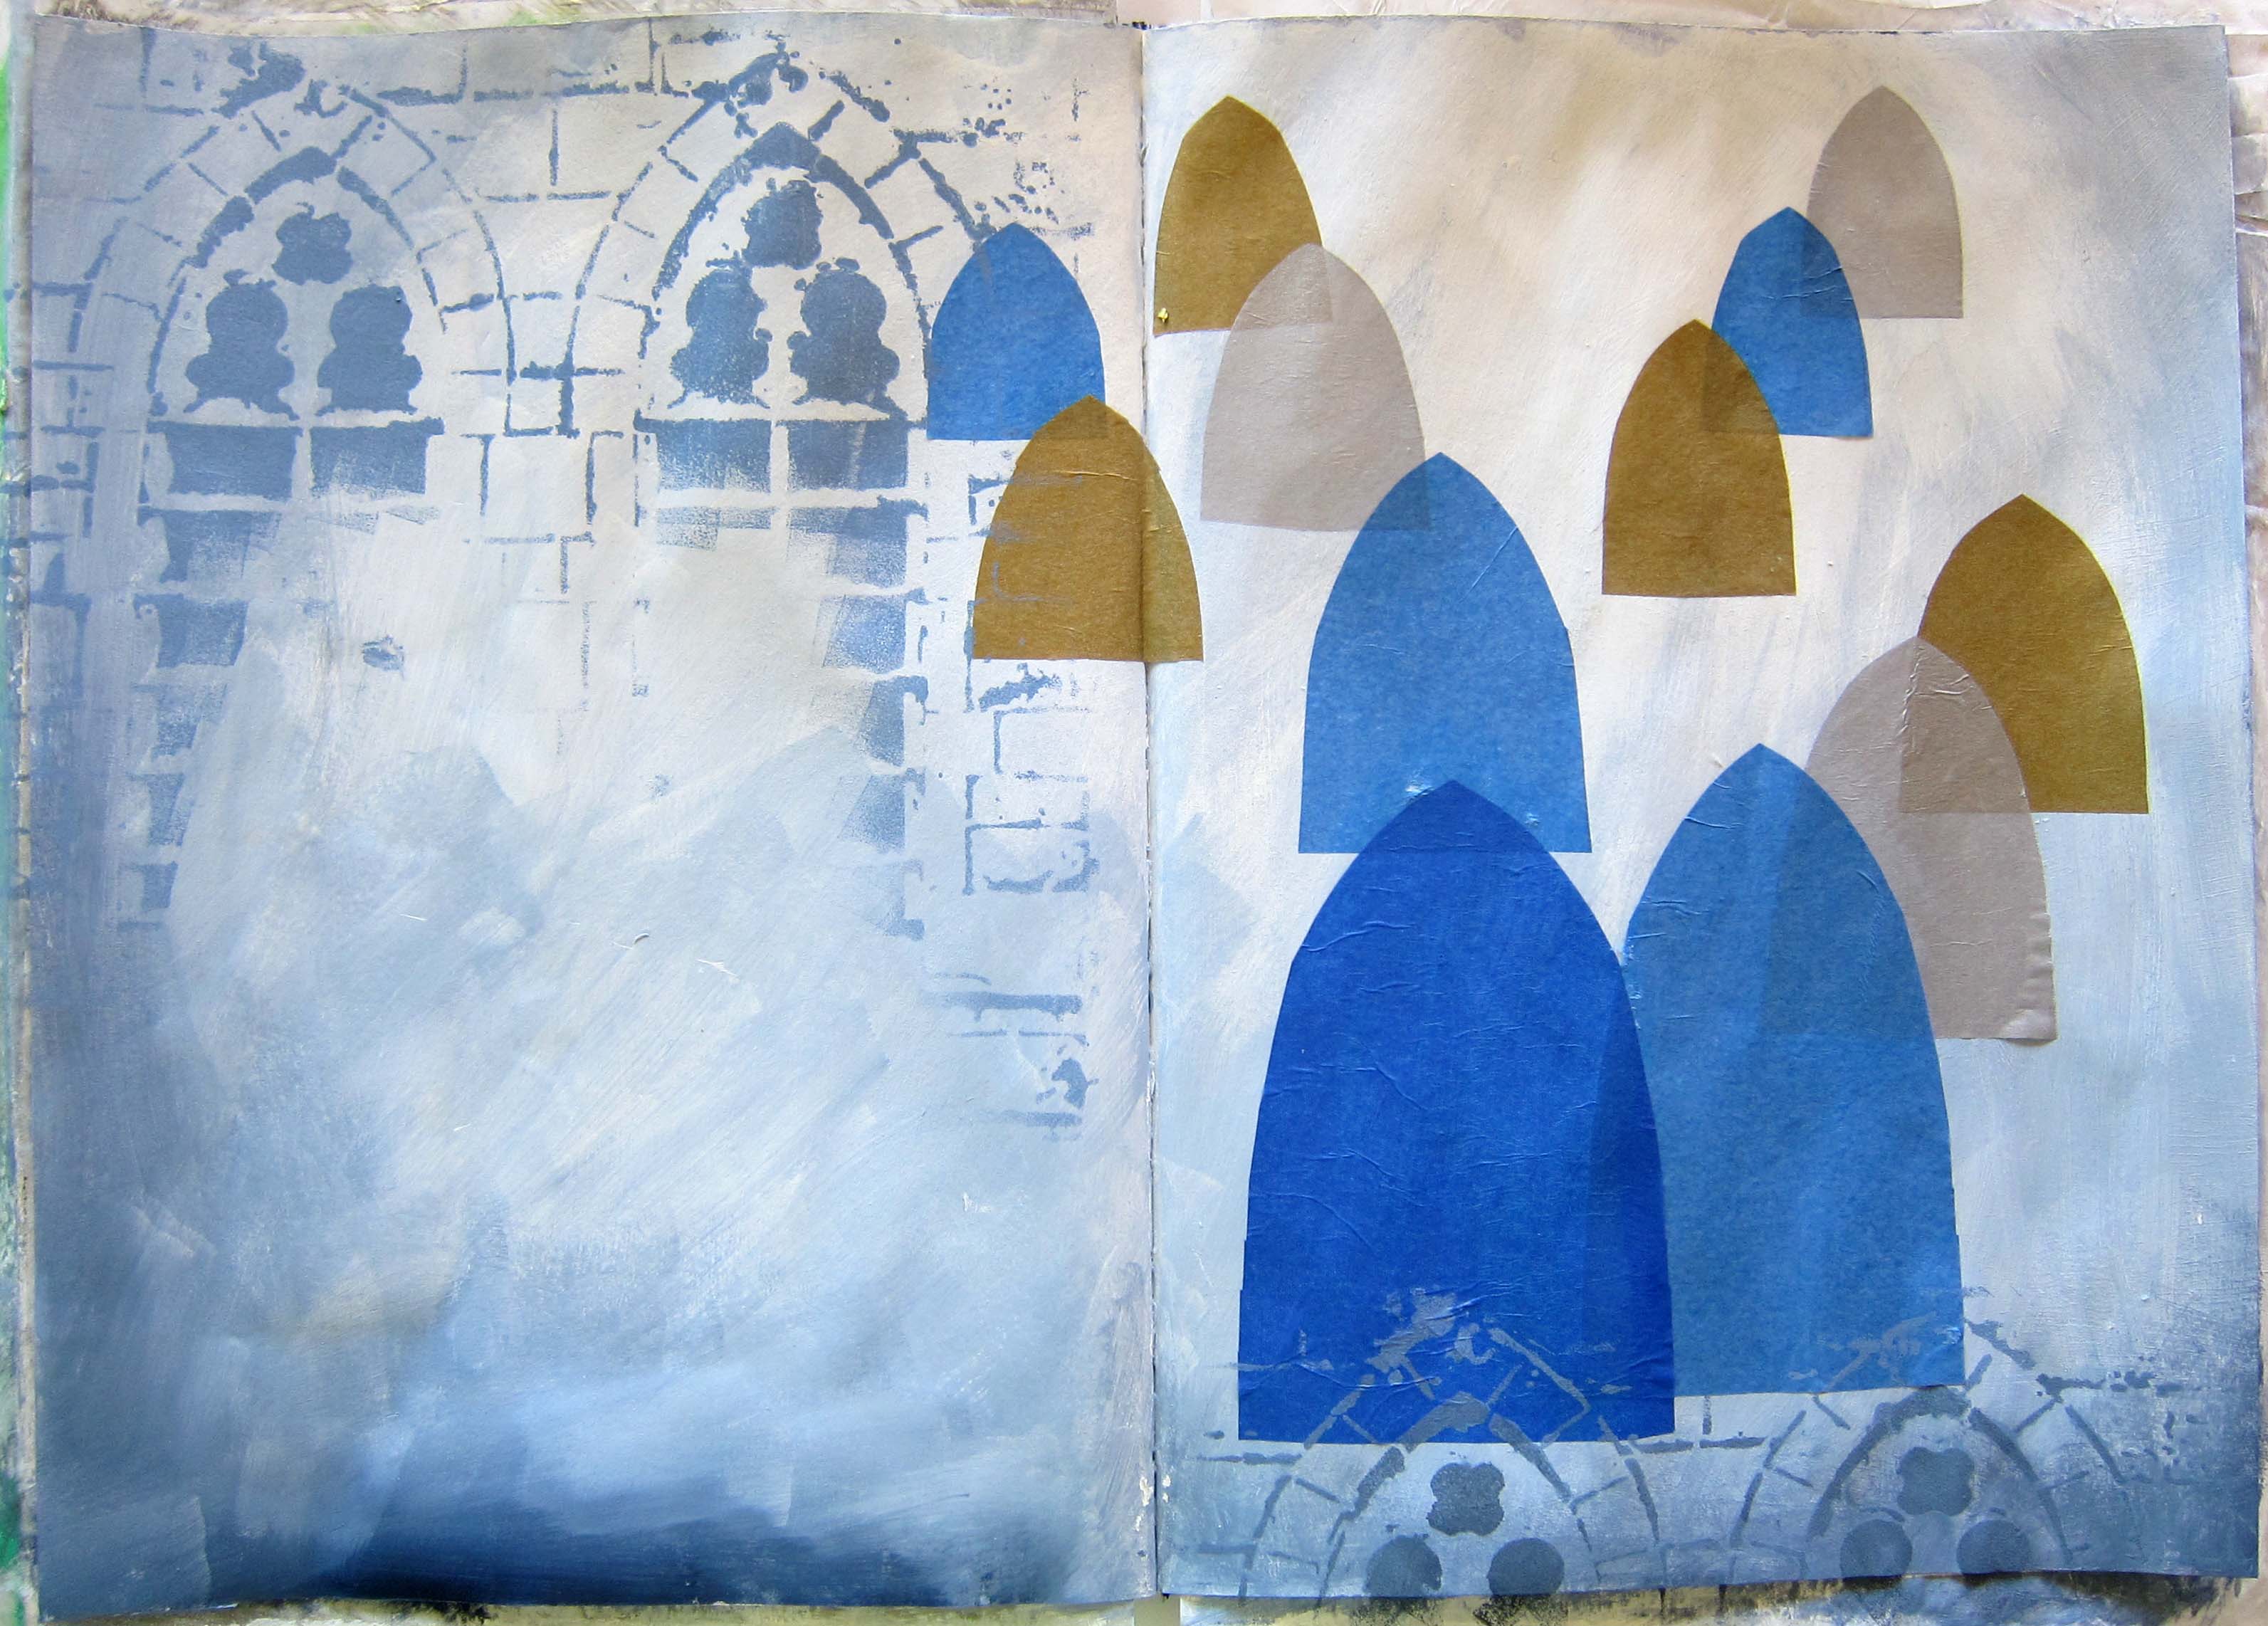
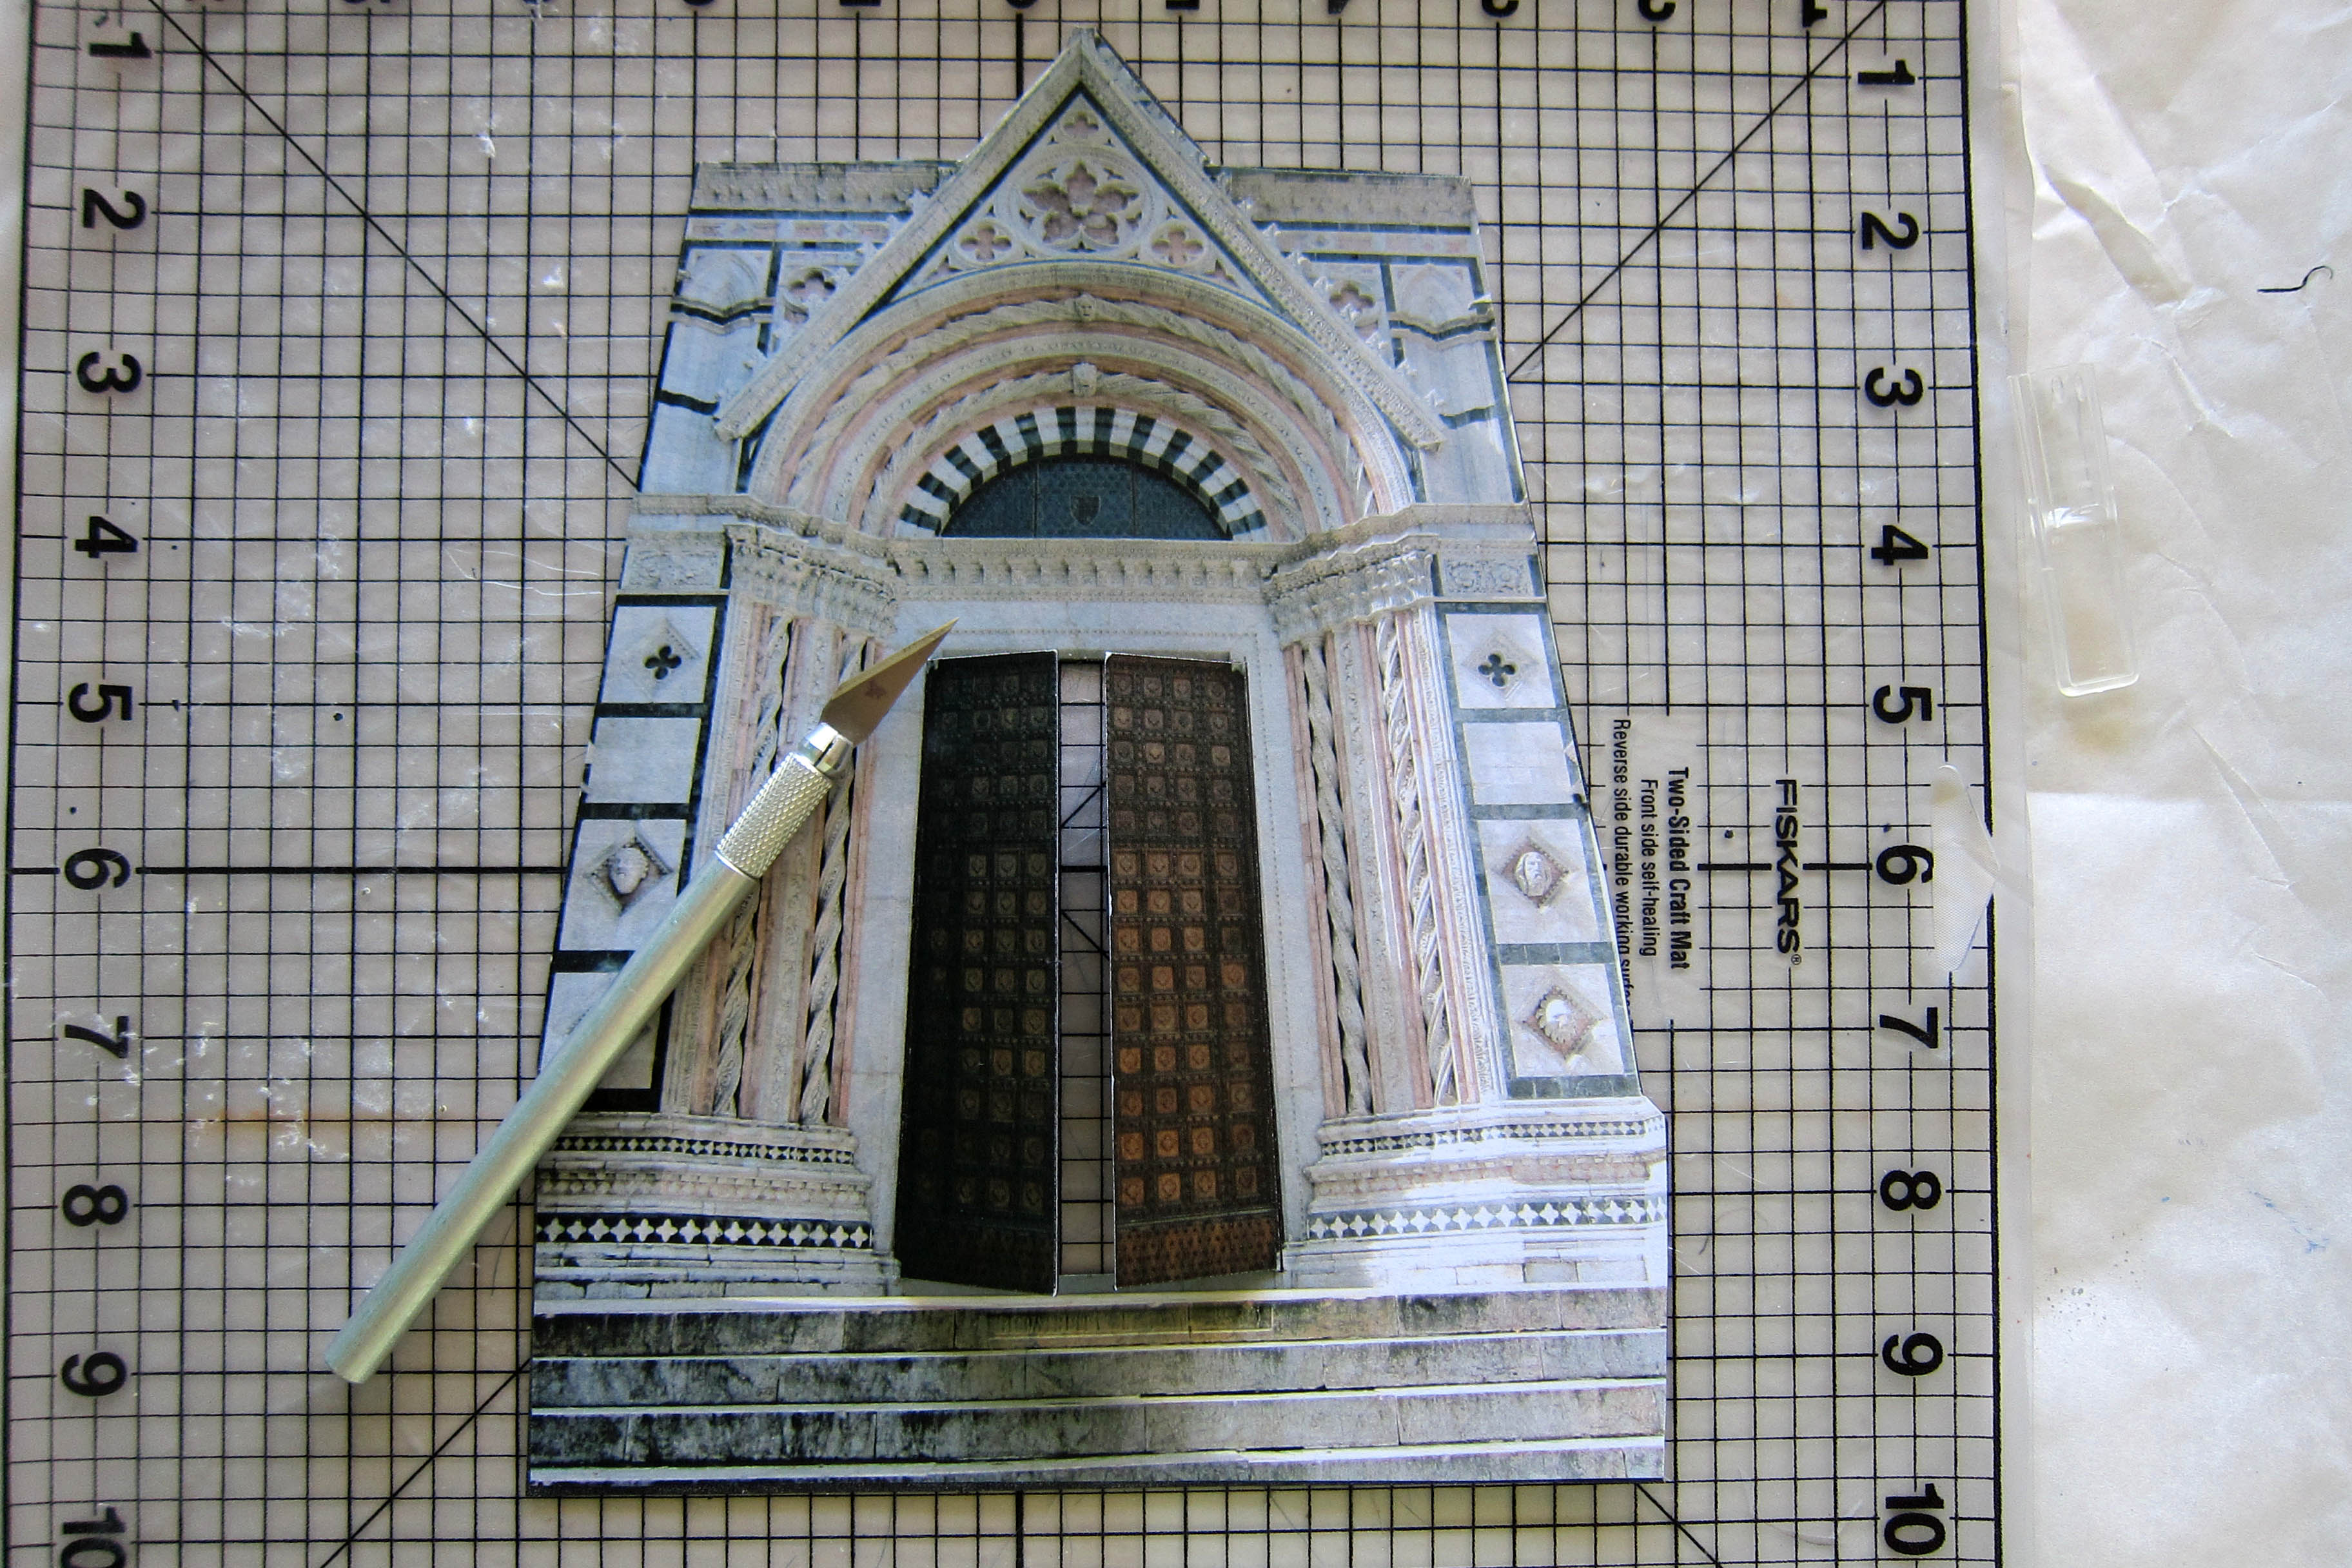
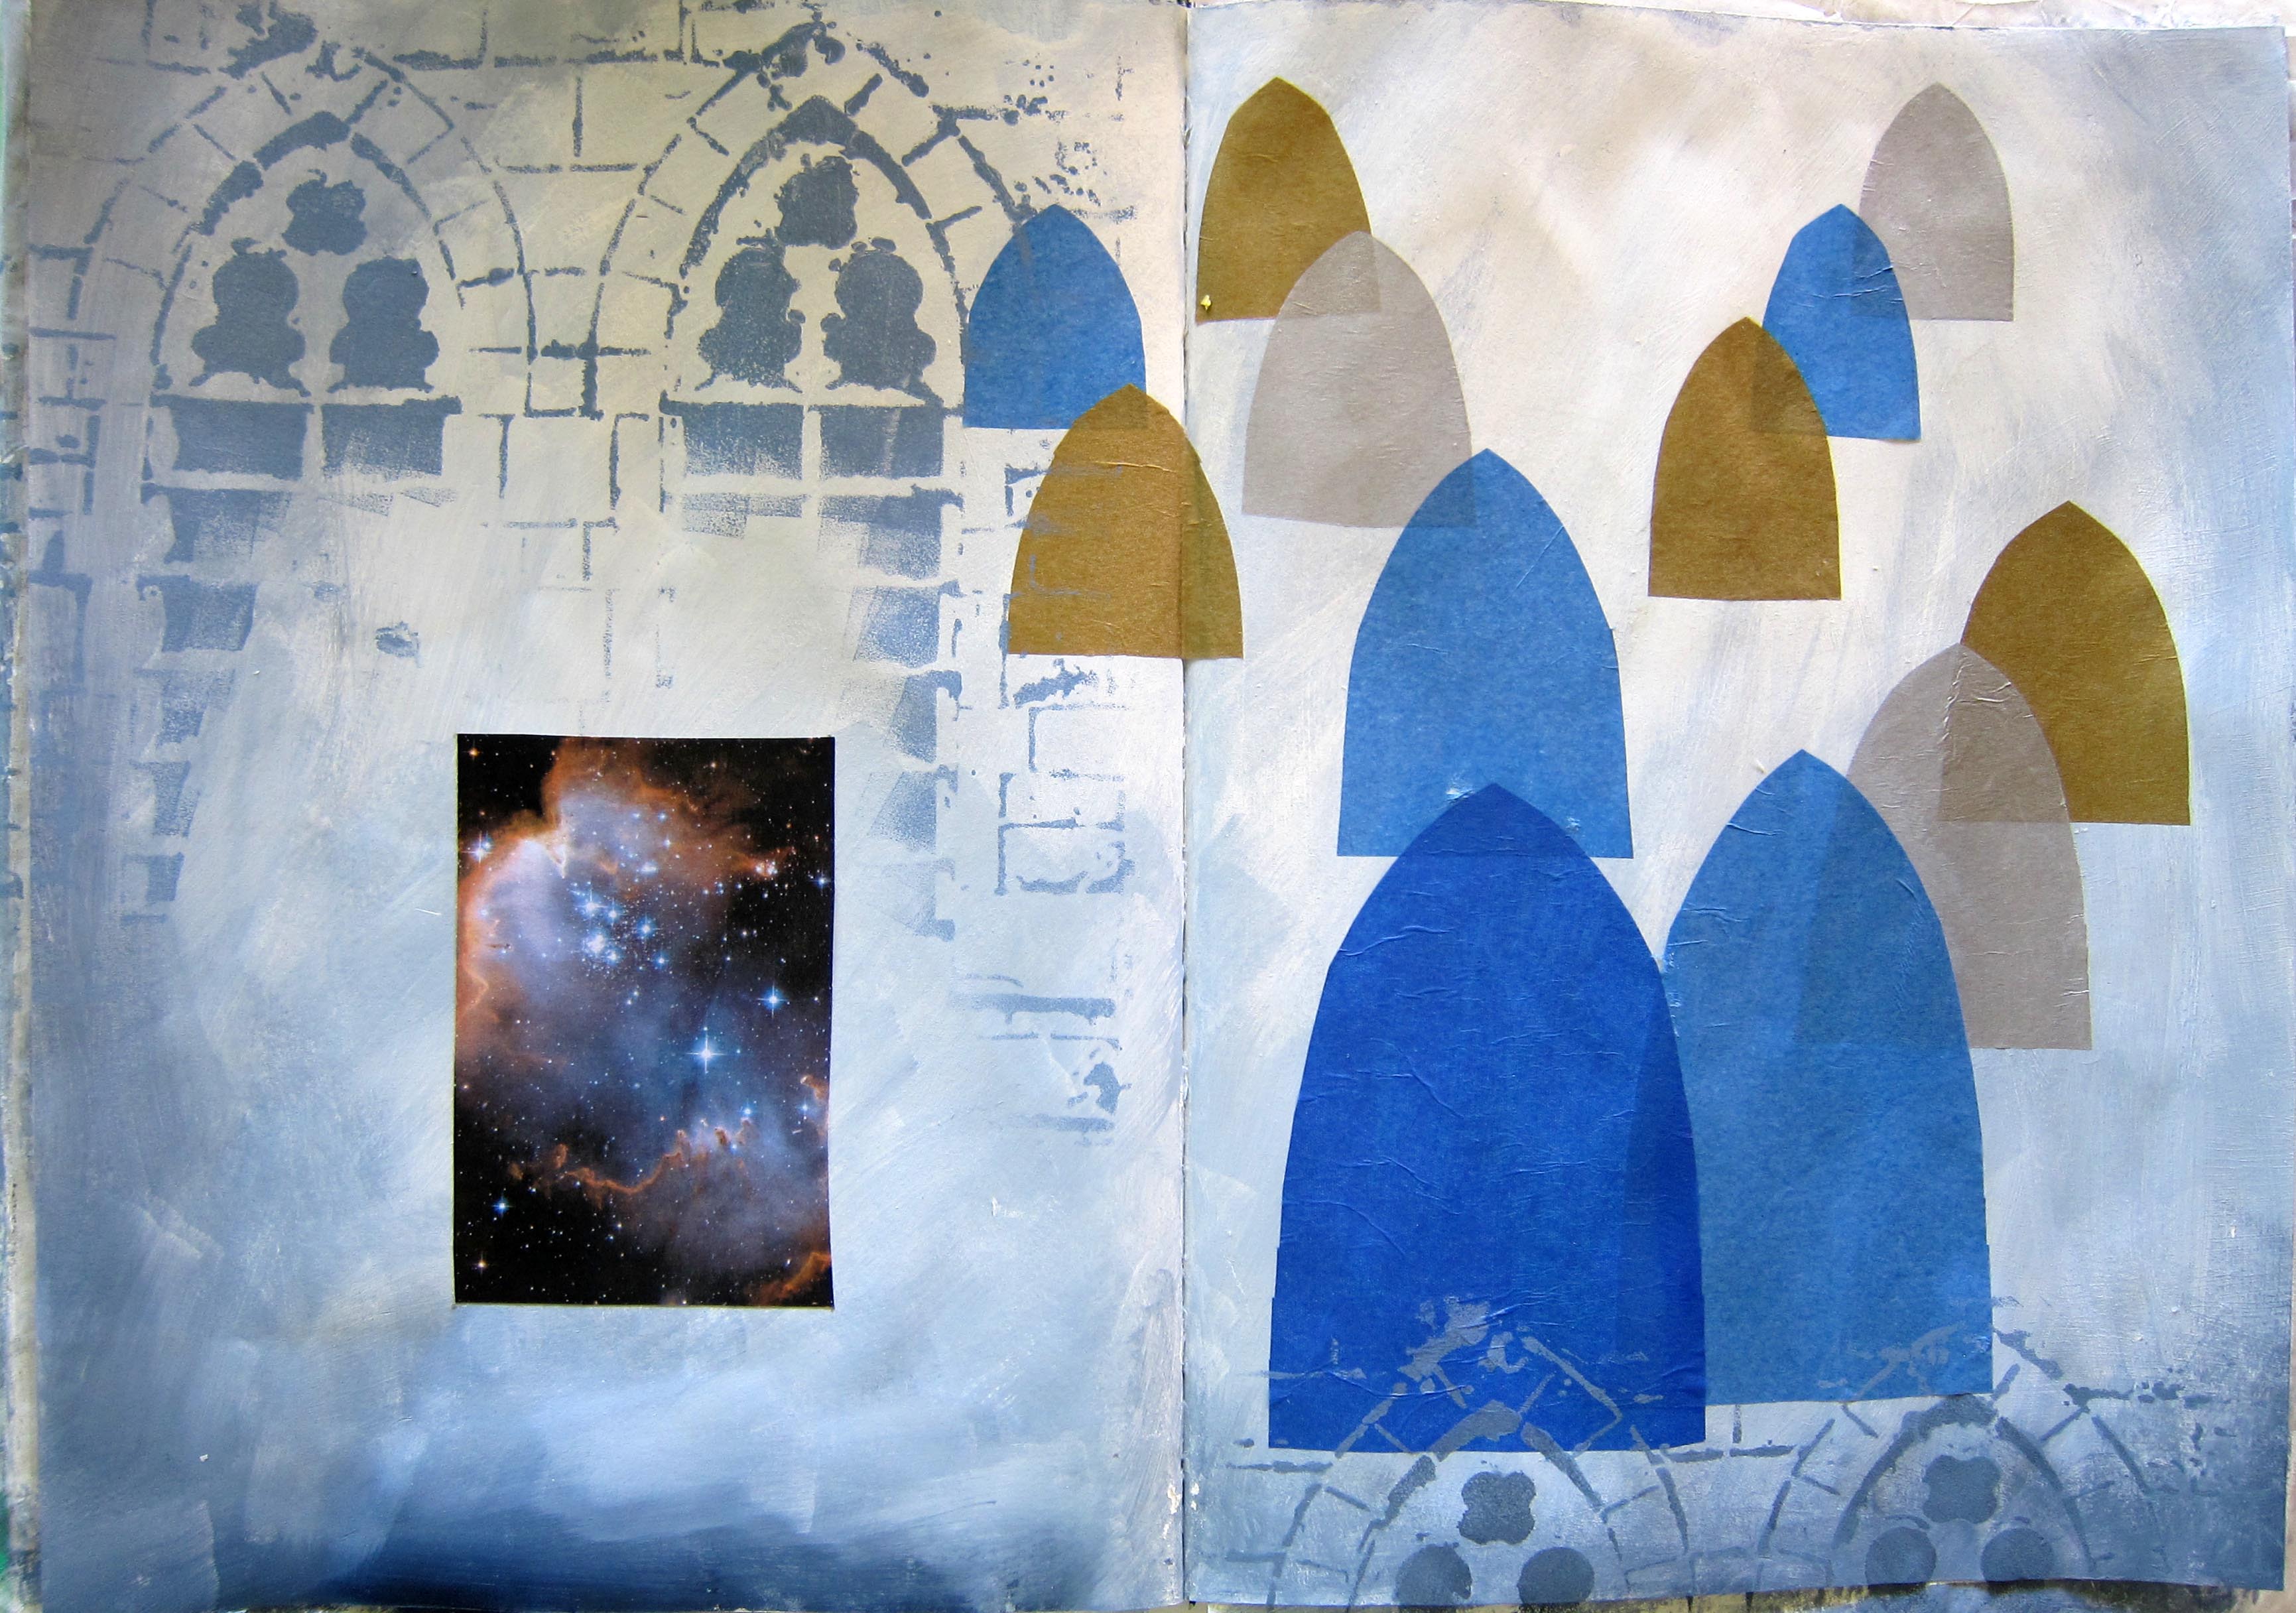
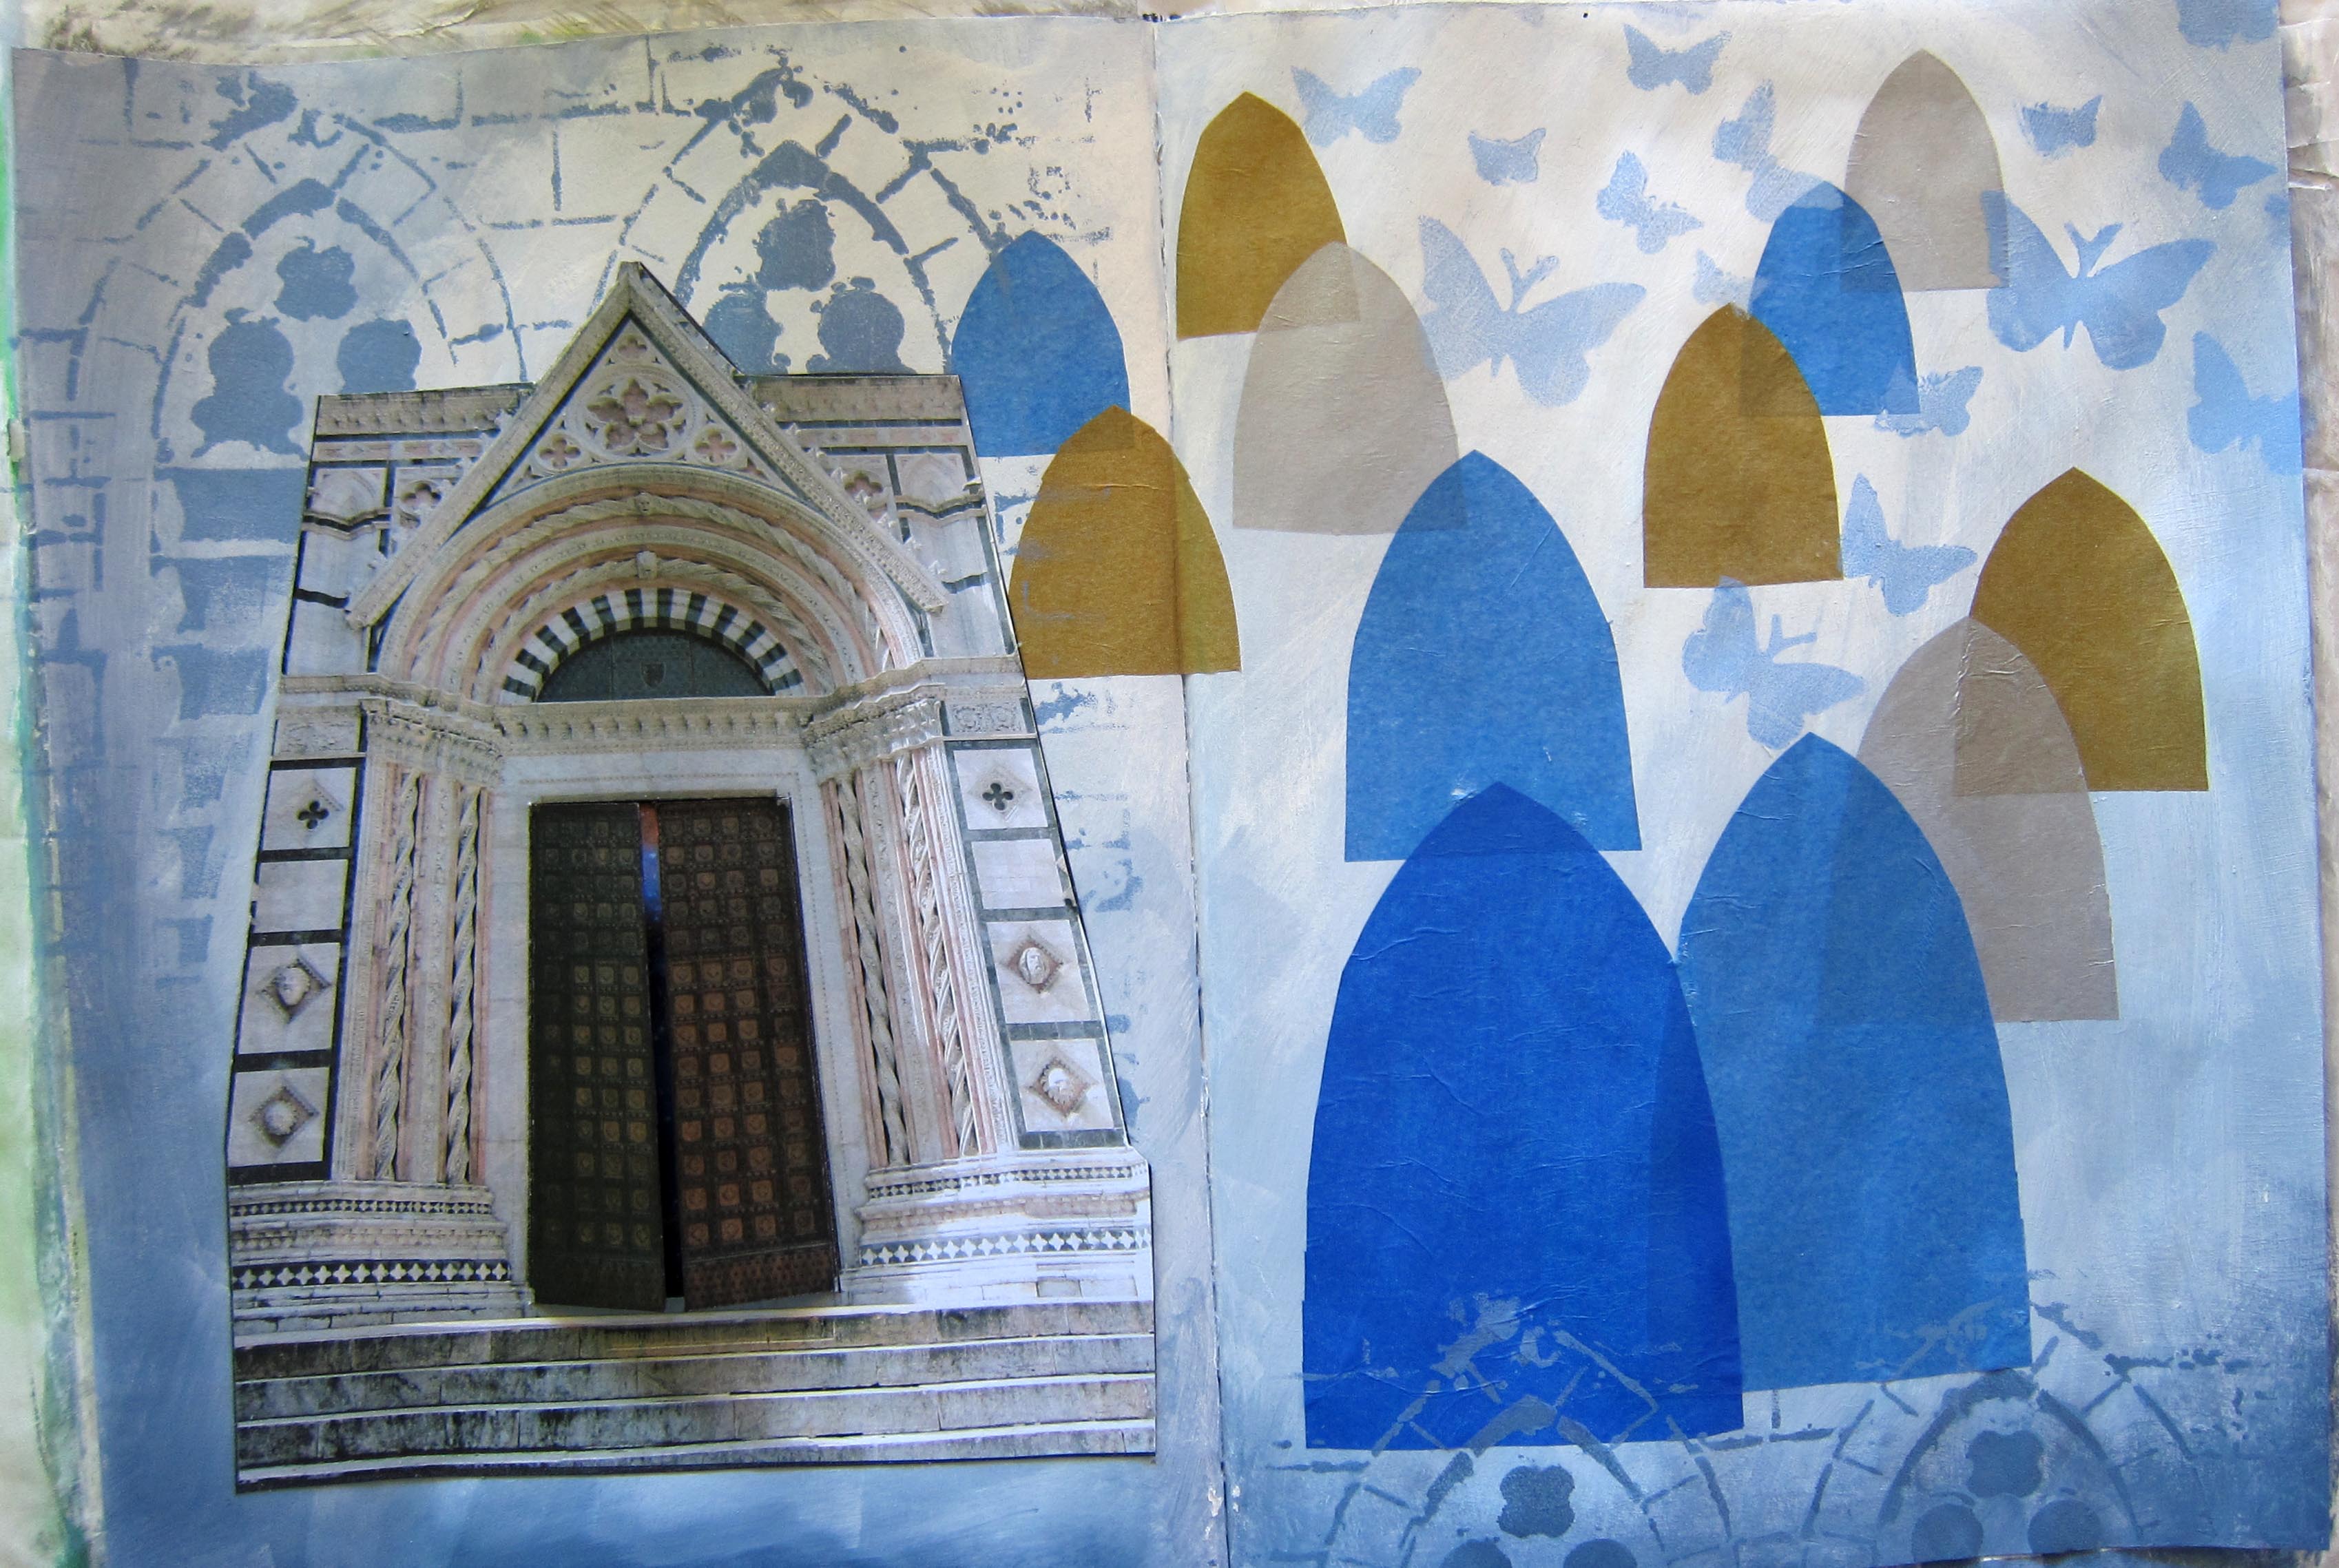
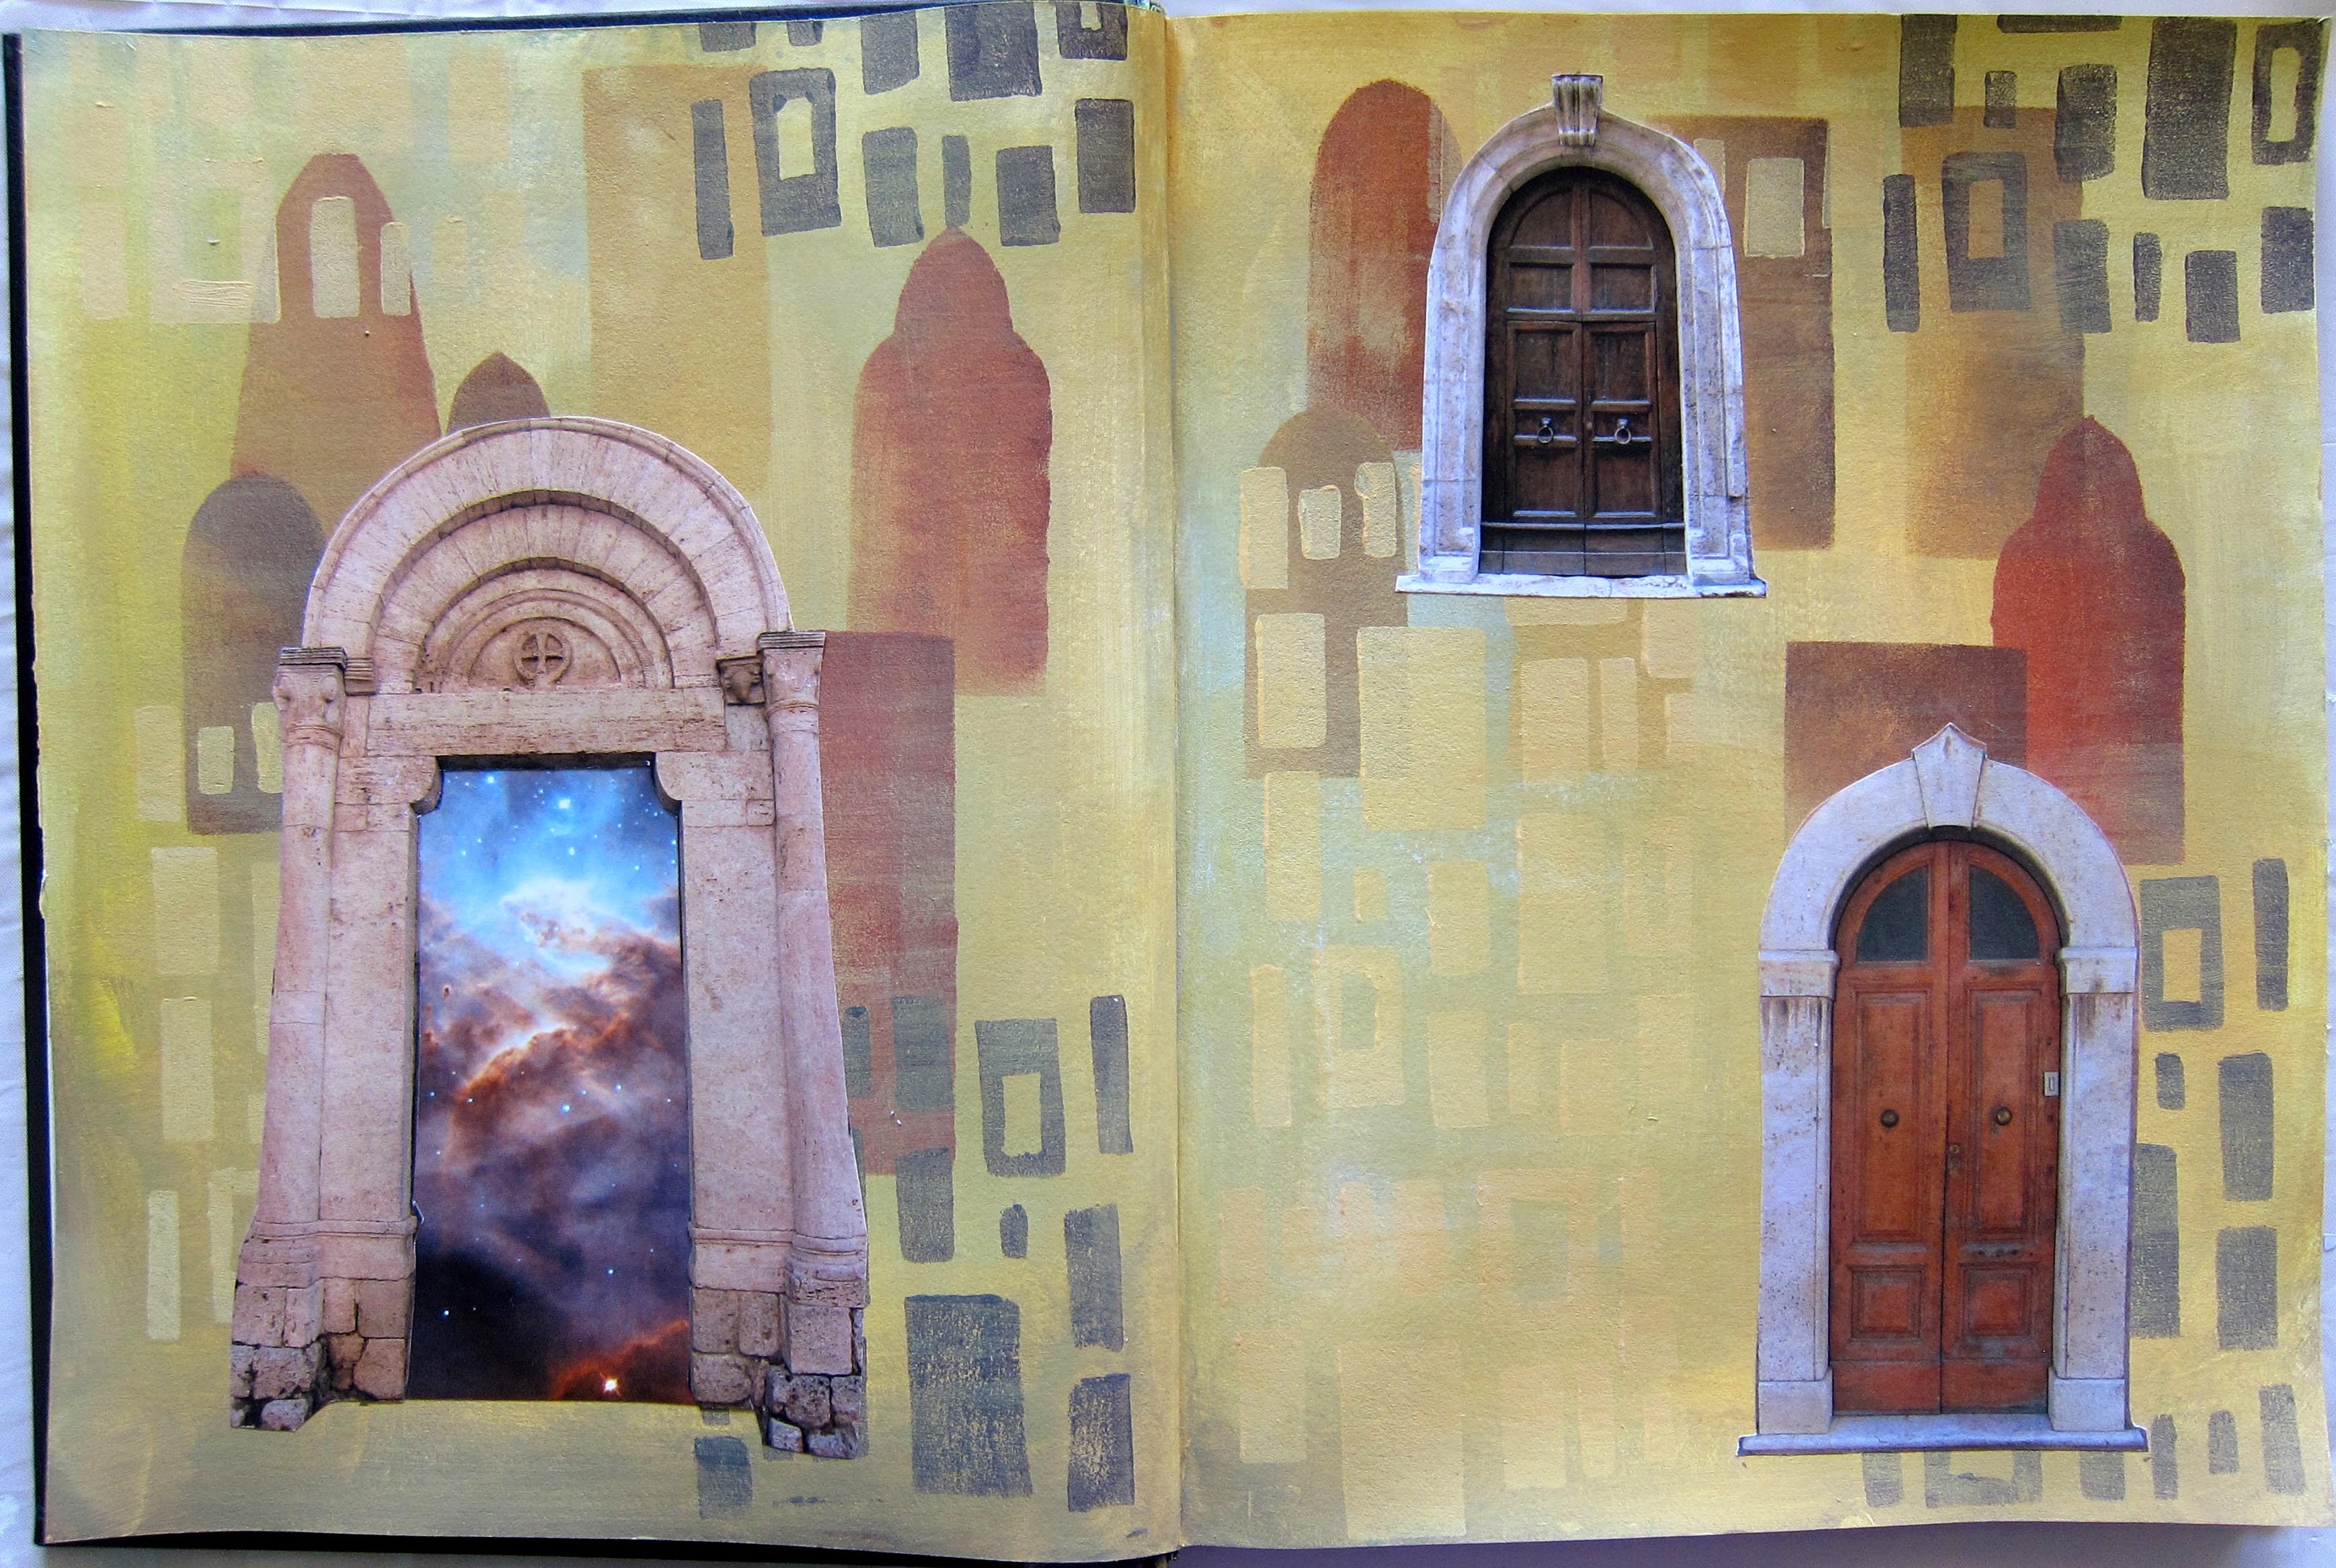
During the Part 2 course we made a page about entering the cave and finding the “treasure”, whatever that may be, perhaps some new knowledge, some new strength or self confidence. The journalers could choose from a series of different images to represent their treasure. Christina chose a Holy grail image, which is hidden behind an opening door in the cave.. I asked her about this page.
A. Why did you choose the Grail image for your treasure, instead of the treasure chest or stars?
C. I’ve always had a thing for the Grail. A few years ago I did a workshop where we made a goblet to represent the Grail. I think the Grail is more mystical than a treasure chest. My red haired warrior is going on a quest, a mystical quest to get the Holy grail.
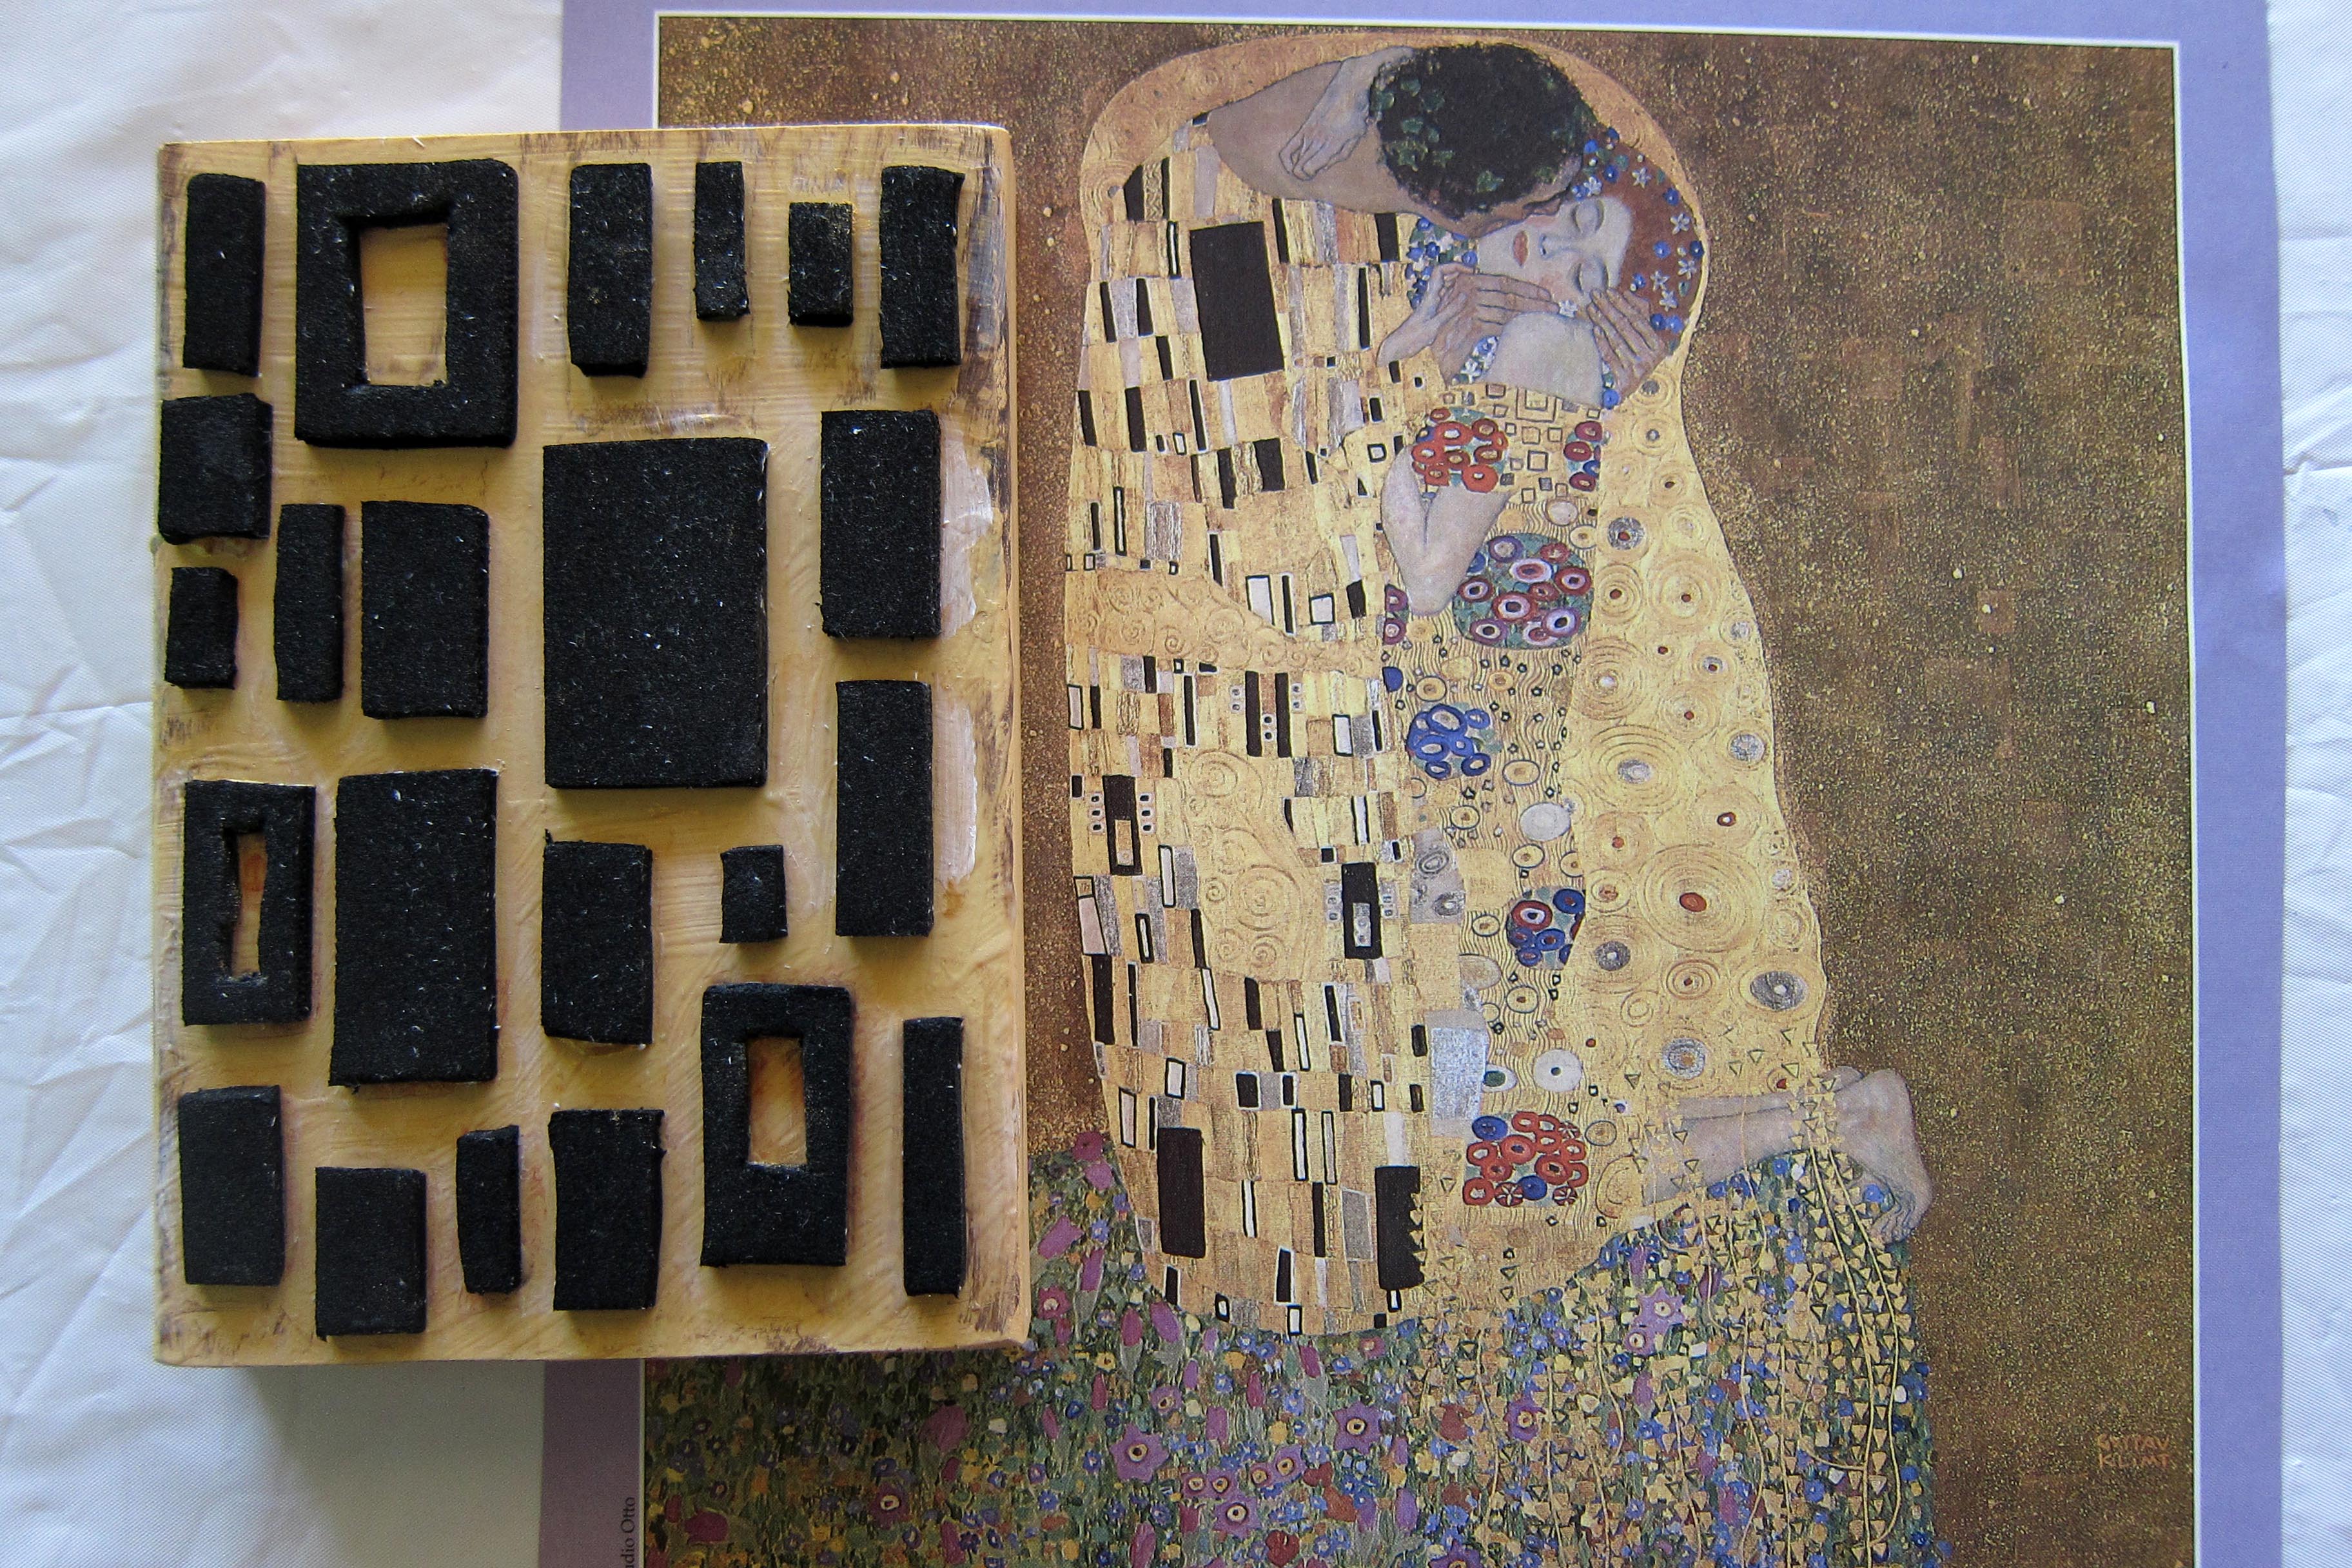
A. (On this page I introduced a new technique of scrunching and glueing down tissue paper to create a textured cave roof, which we then painted black or dark brown, When it was dry we rubbed Inka Gold paint lightly on it, which was picked up by the higher ridges. A. I know you enjoyed the new process I introduced, of working with tissue paper to add texture. Can you say more about this?
C.Well I loved to create texture, I enjoy tactile 3 Dimensional art, and I also love gold, so I really loved rubbing the Inka Gold onto the tissue. I also tried rolling some tissue paper, as well as scrunching it, to make stalactites hanging down.
A. yes everyone in the class was impressed with this innovation of yours.
C. i also put gold leaf around the image of the grail…you can only see this when you open the doors.
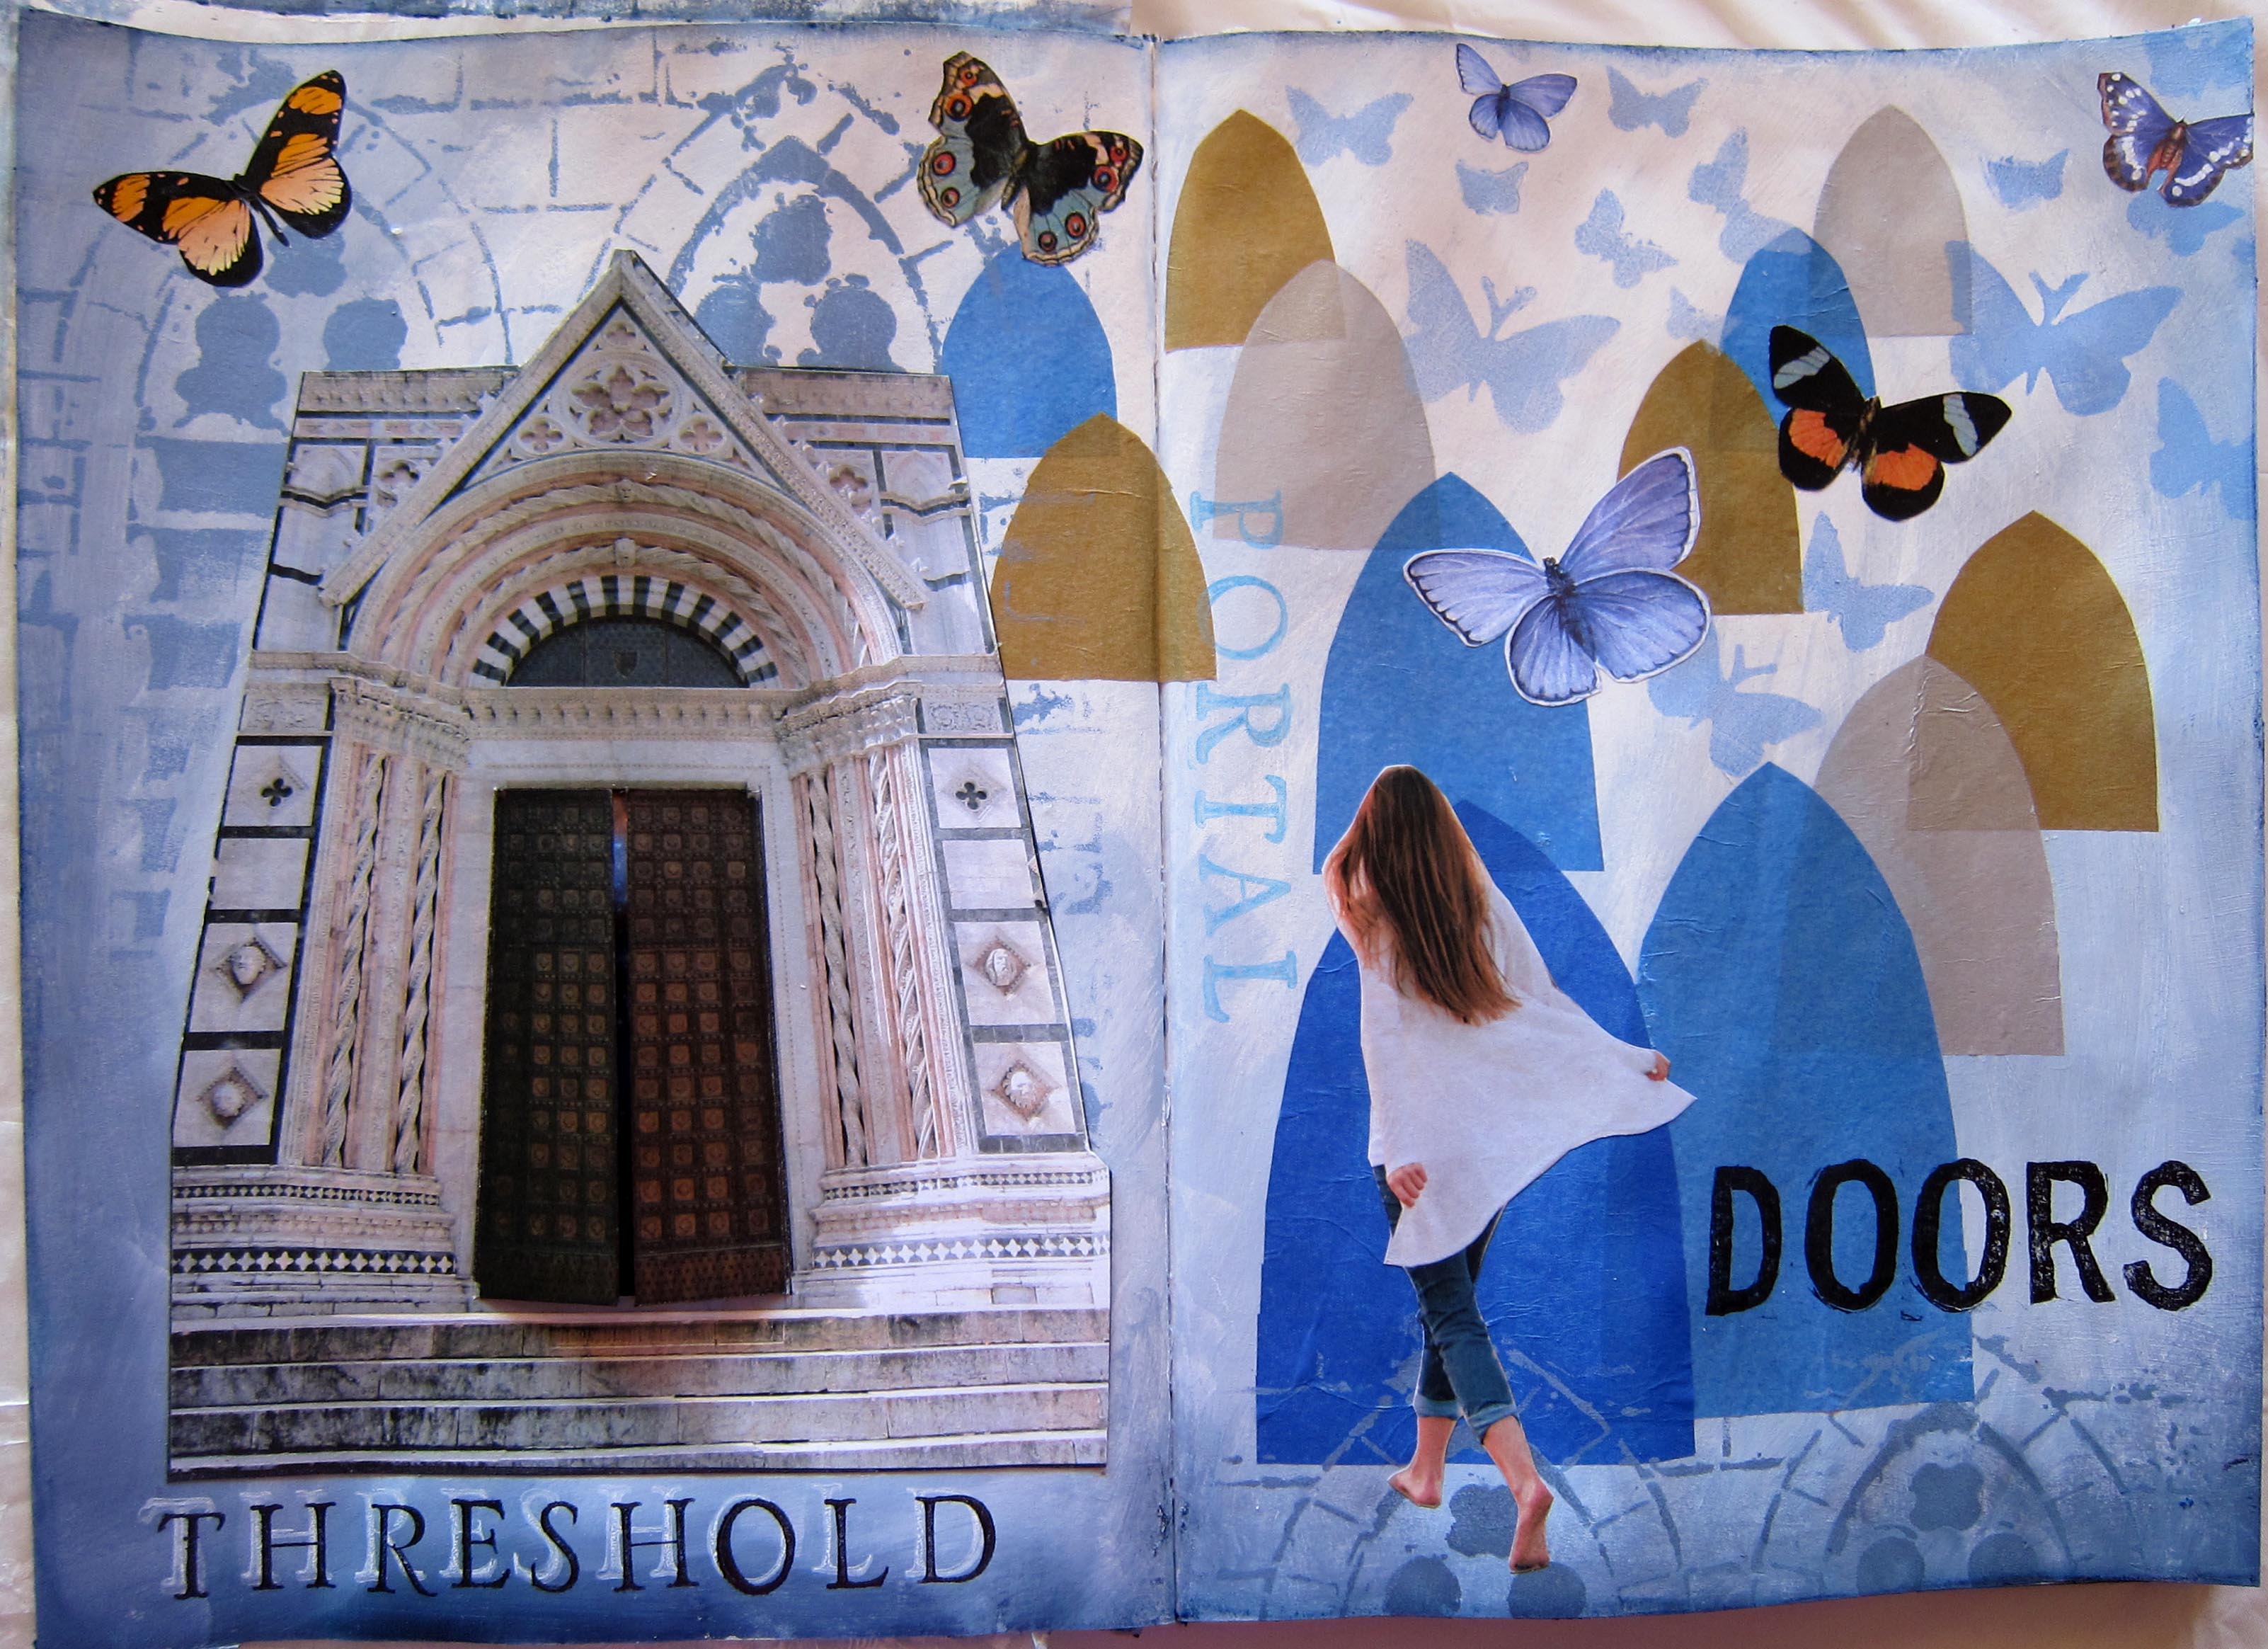
A. So finally I thought I would include your butterfly and flower head page. You have used a photo of yourself in your thirties I think. What was this page about for you in the end?
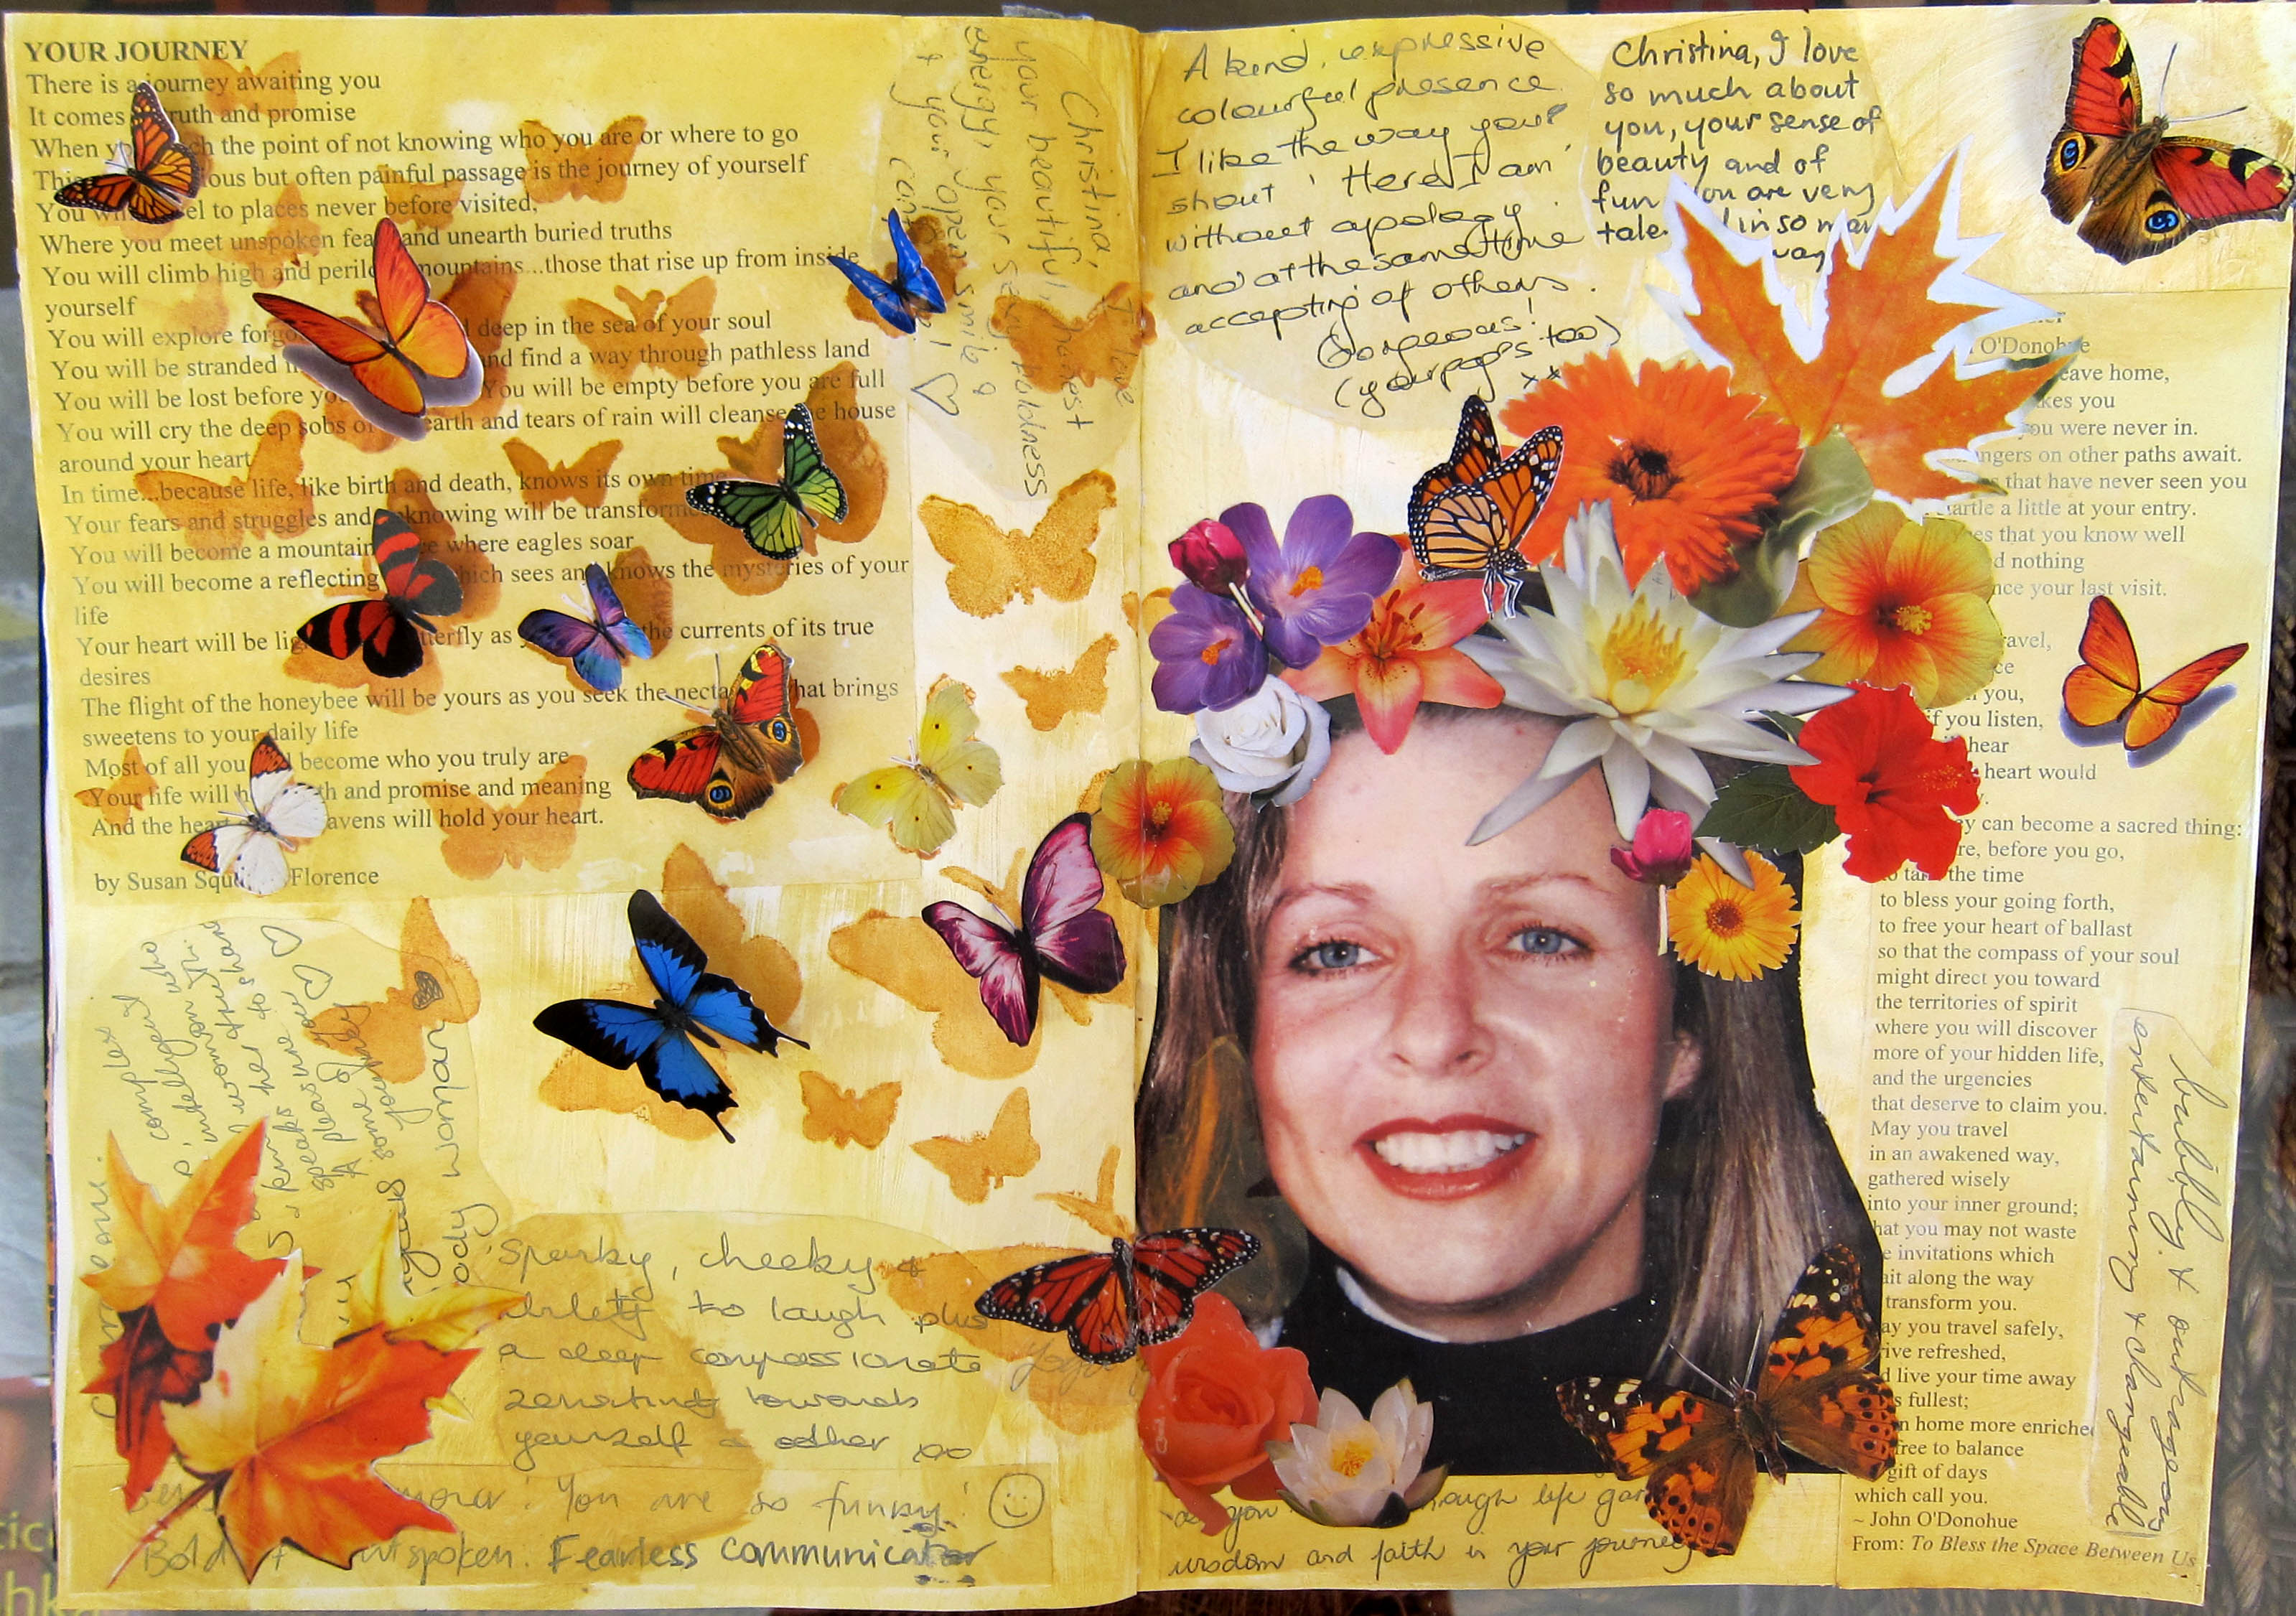 C. Well as you had suggested I used some of the positive comments that the other Journeyers had written about me, as undercollage, along with a couple of my favourite poems that we had as our readings. I included a couple of tulips amongst the flowers to represent my Dutch heritage. But ultimately I think the page is about freedom…the butterflies represent freedom. I’m thinking of writing “Fly free” somewhere on the page.
A. I was impressed with the way you have made your butterflies 3 dimensional, in that you have only glued them down the middle and the wings are sticking out from the page.
C. Well, again, it’s that 3D thing that I really like. It was really interesting to see the things that the others wrote about me and to think, “so that’s how you see me!”
It was great to have Christina in the Heroine’s Journey group, and I really hope she continues art journaling, now that the course is over.